
How to Create and Manage Approval Policies
Approval Policies let you define which payments require review and who can approve them before funds are released. Admins can set conditions based on payment amounts and assign approvers to improve internal oversight and reduce errors.
Multiple policies can be layered to create a complete approval flow — for example, one for initial review, another for final approval, or additional rules for higher payment amounts.
Step-by-Step Instructions
1. Go to Your Dashboard
After logging in, you’ll be taken to your main dashboard.
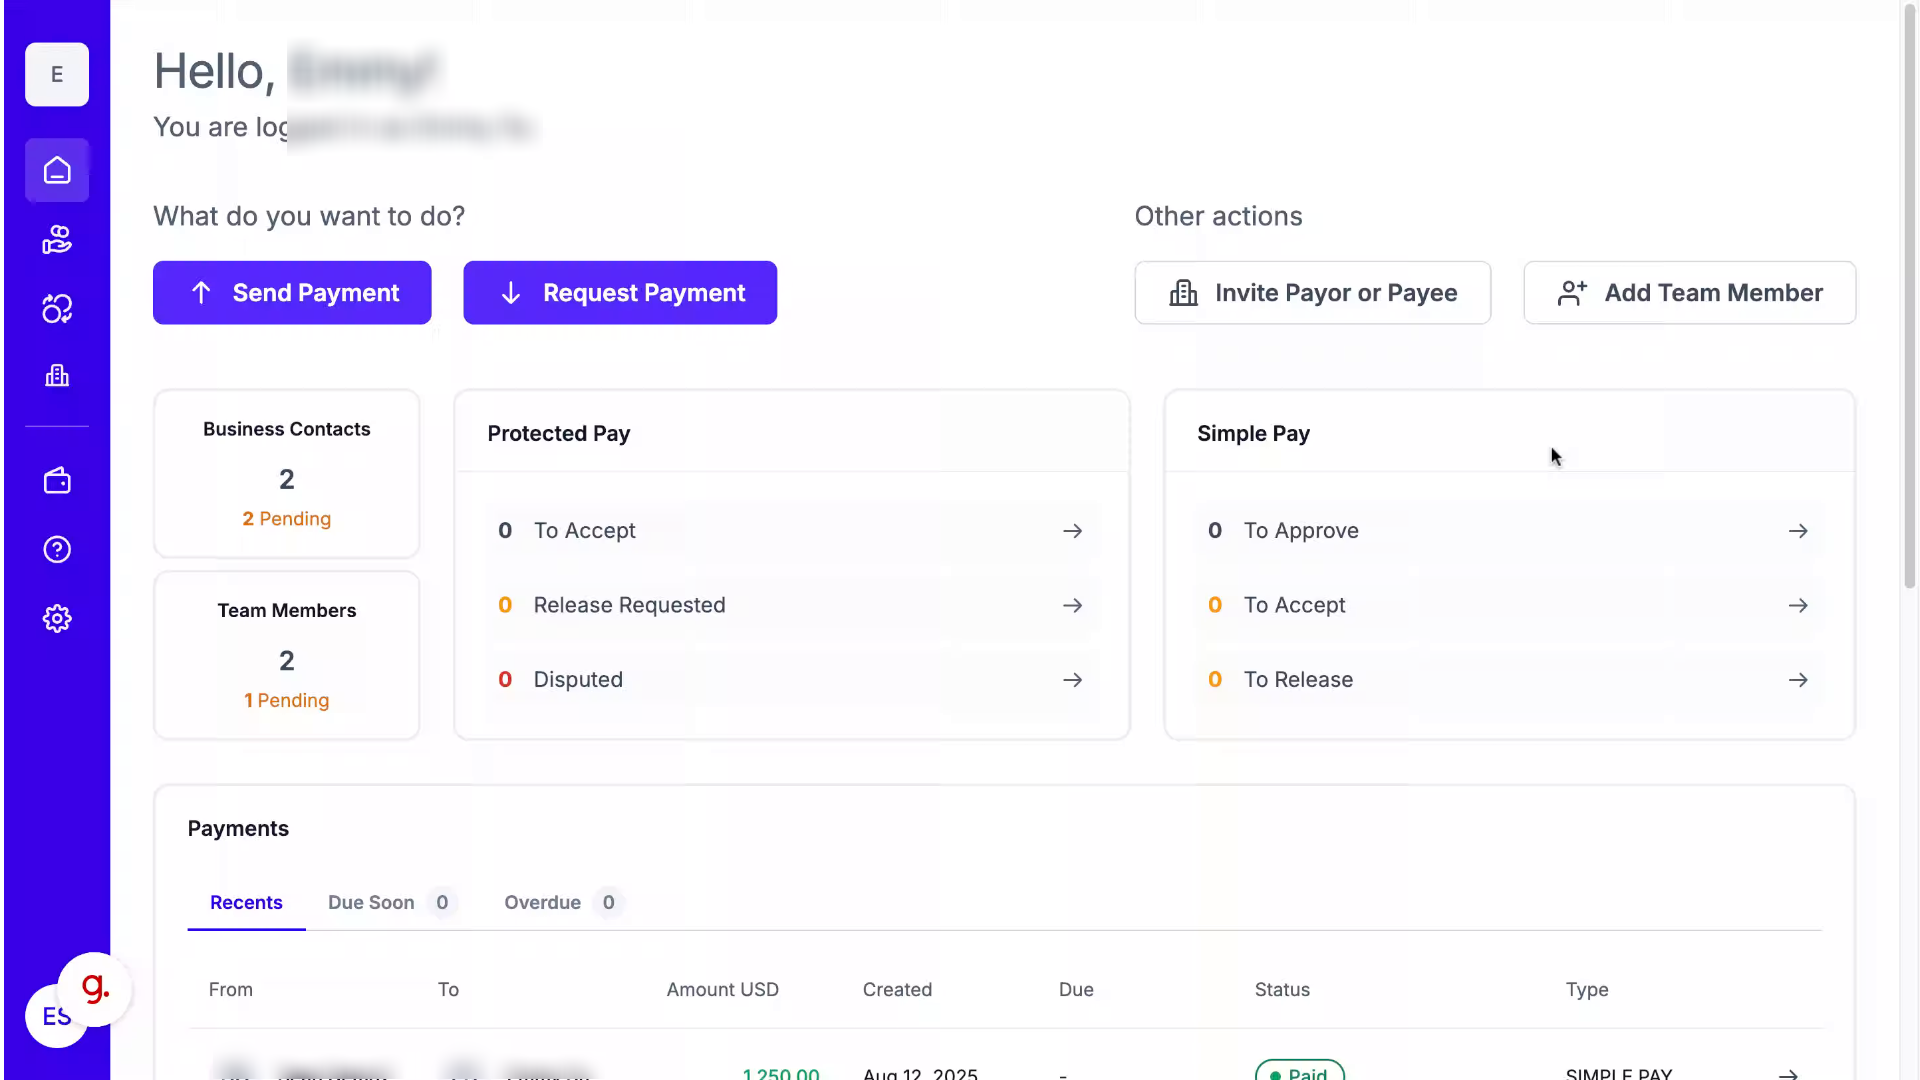
2. Open Settings
From the left-hand navigation panel, click Settings.

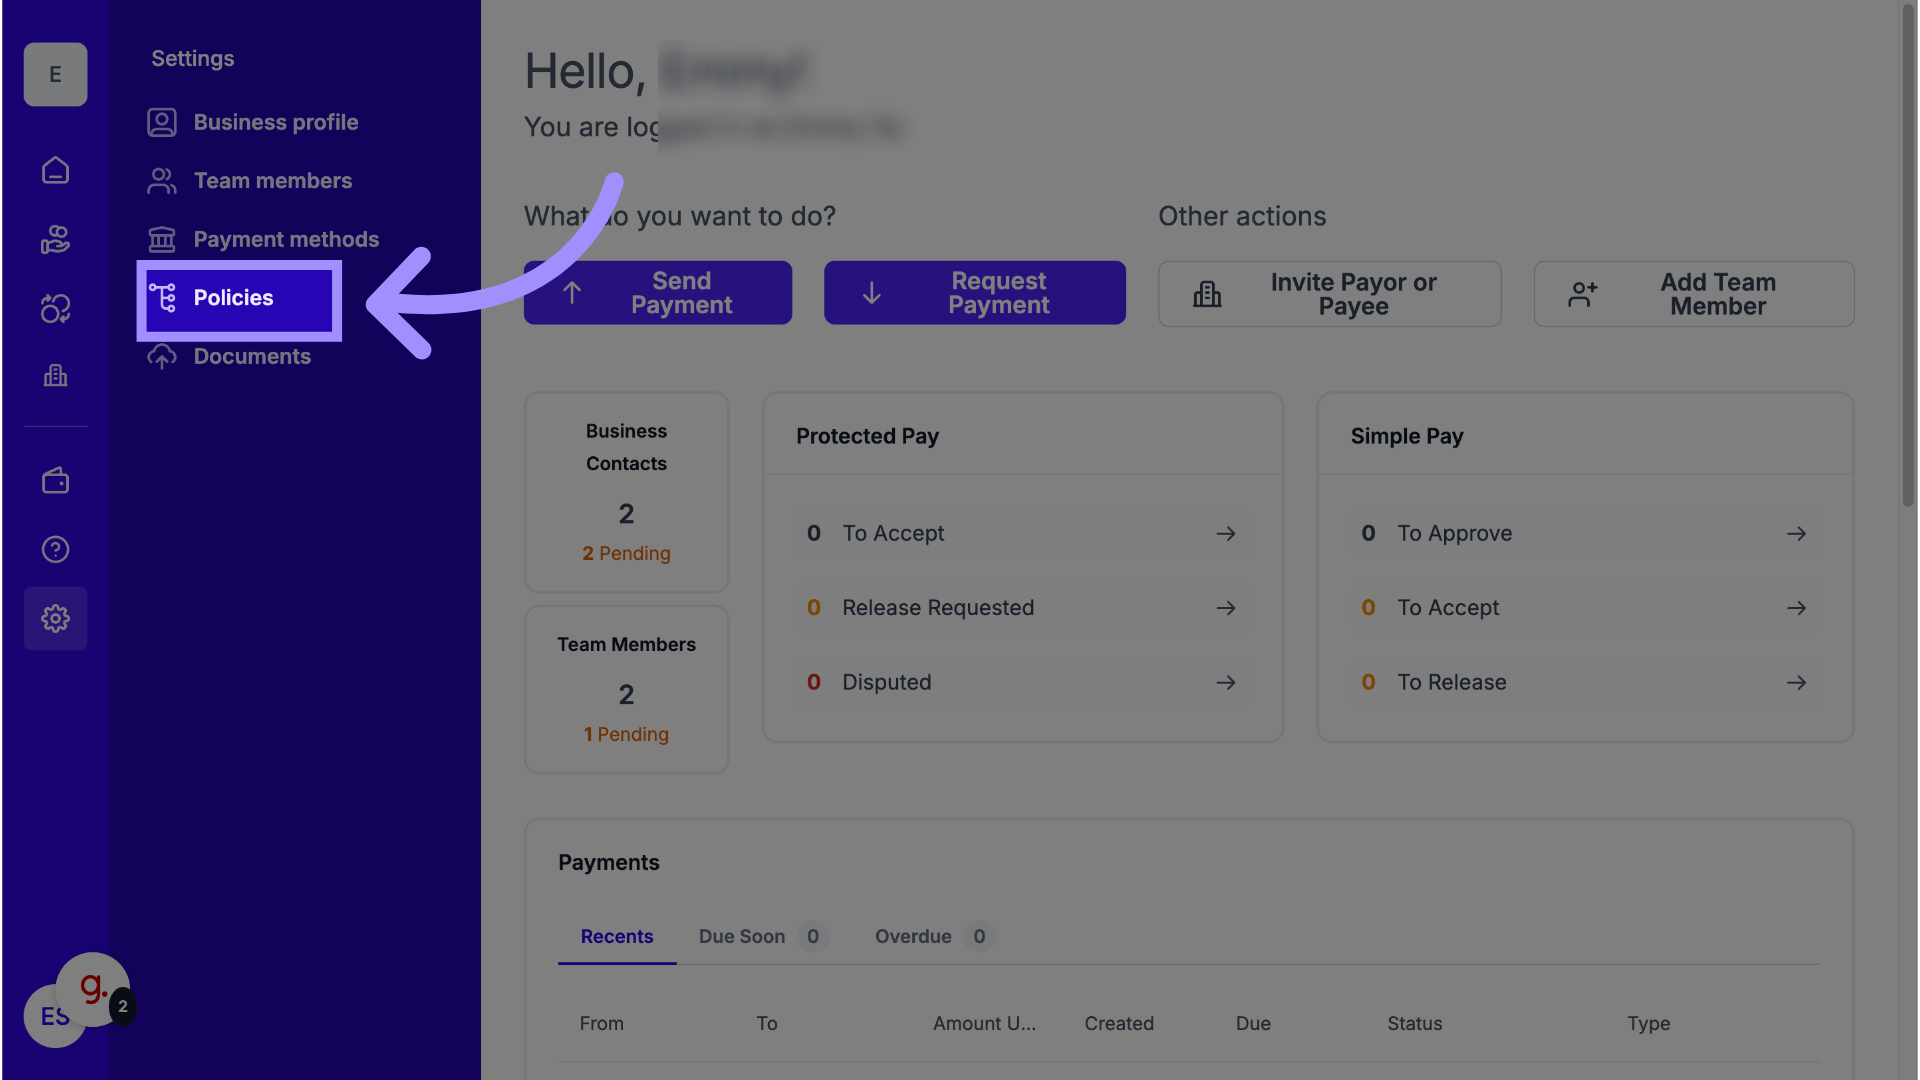
3. Select Policies
In the Settings menu, select Policies to view or create payment approval rules.
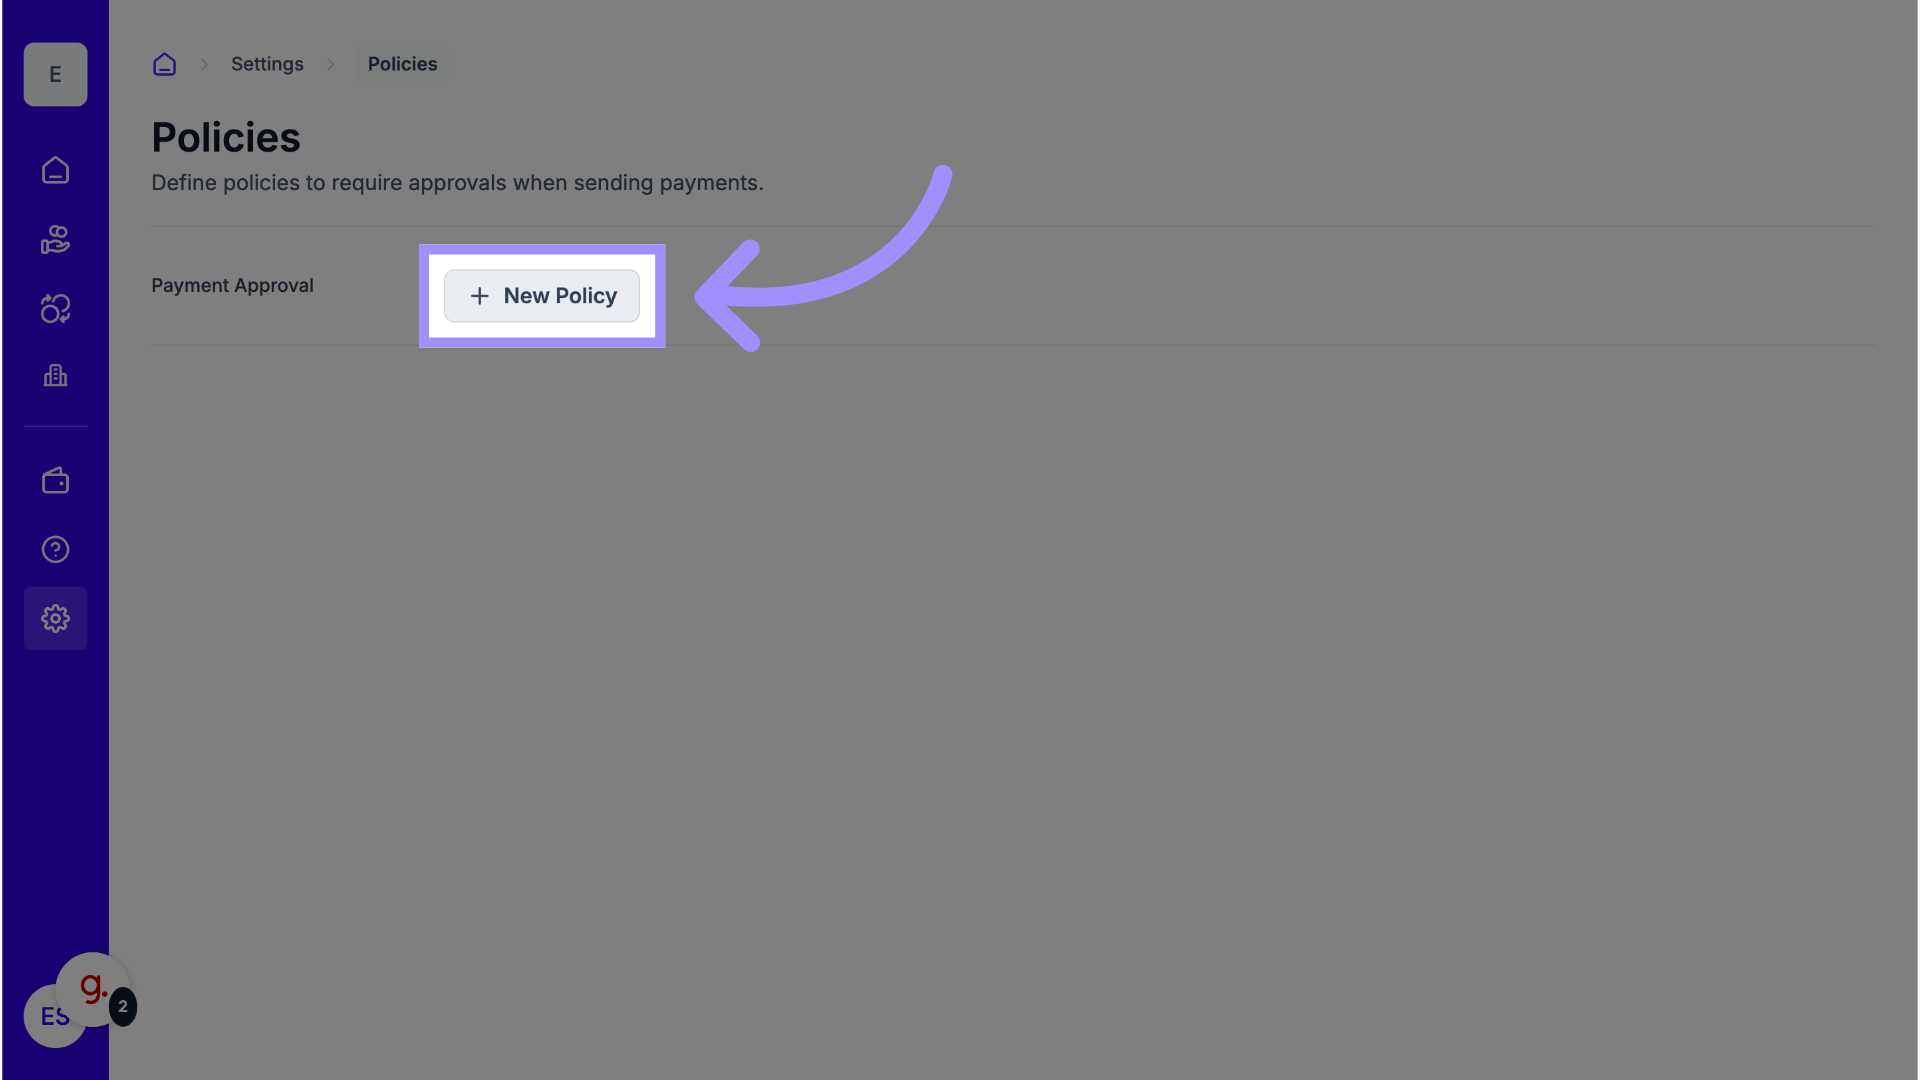
4. Create a New Policy
Click New Policy to create an approval rule.
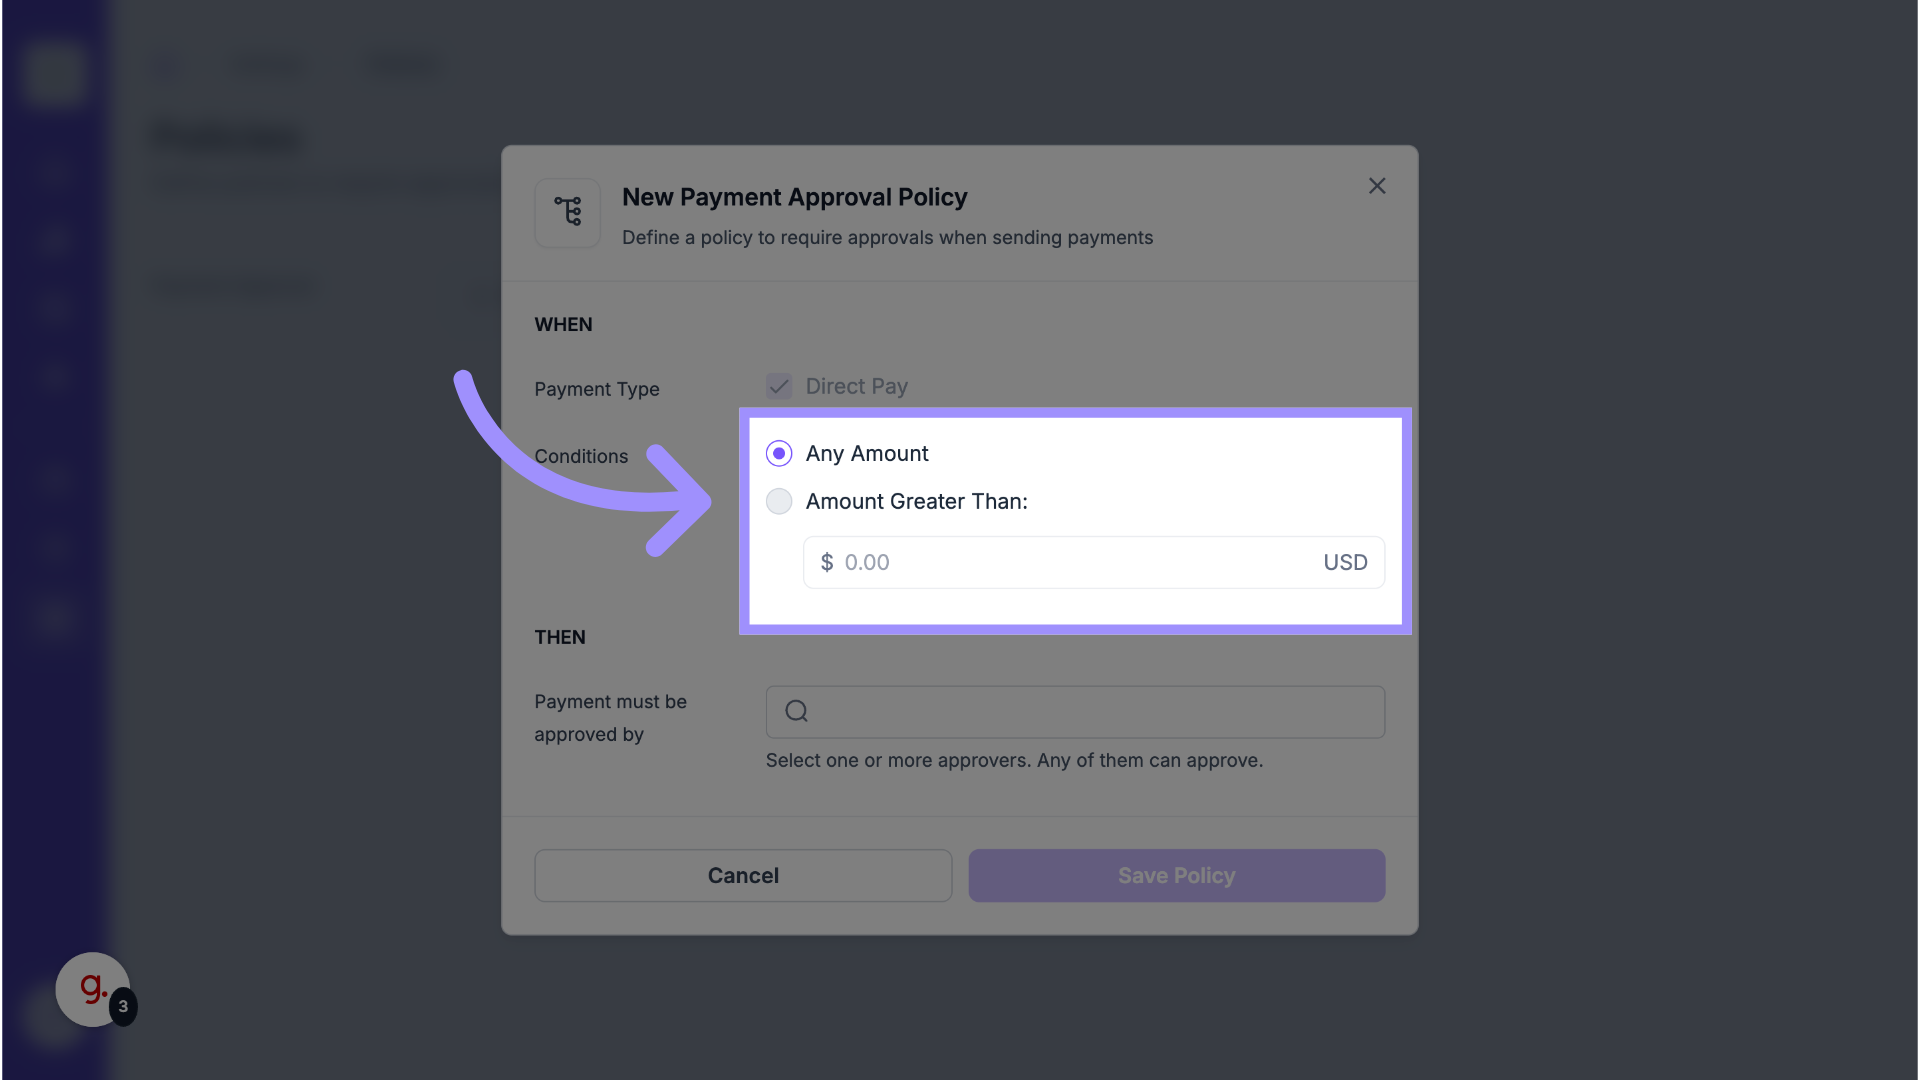
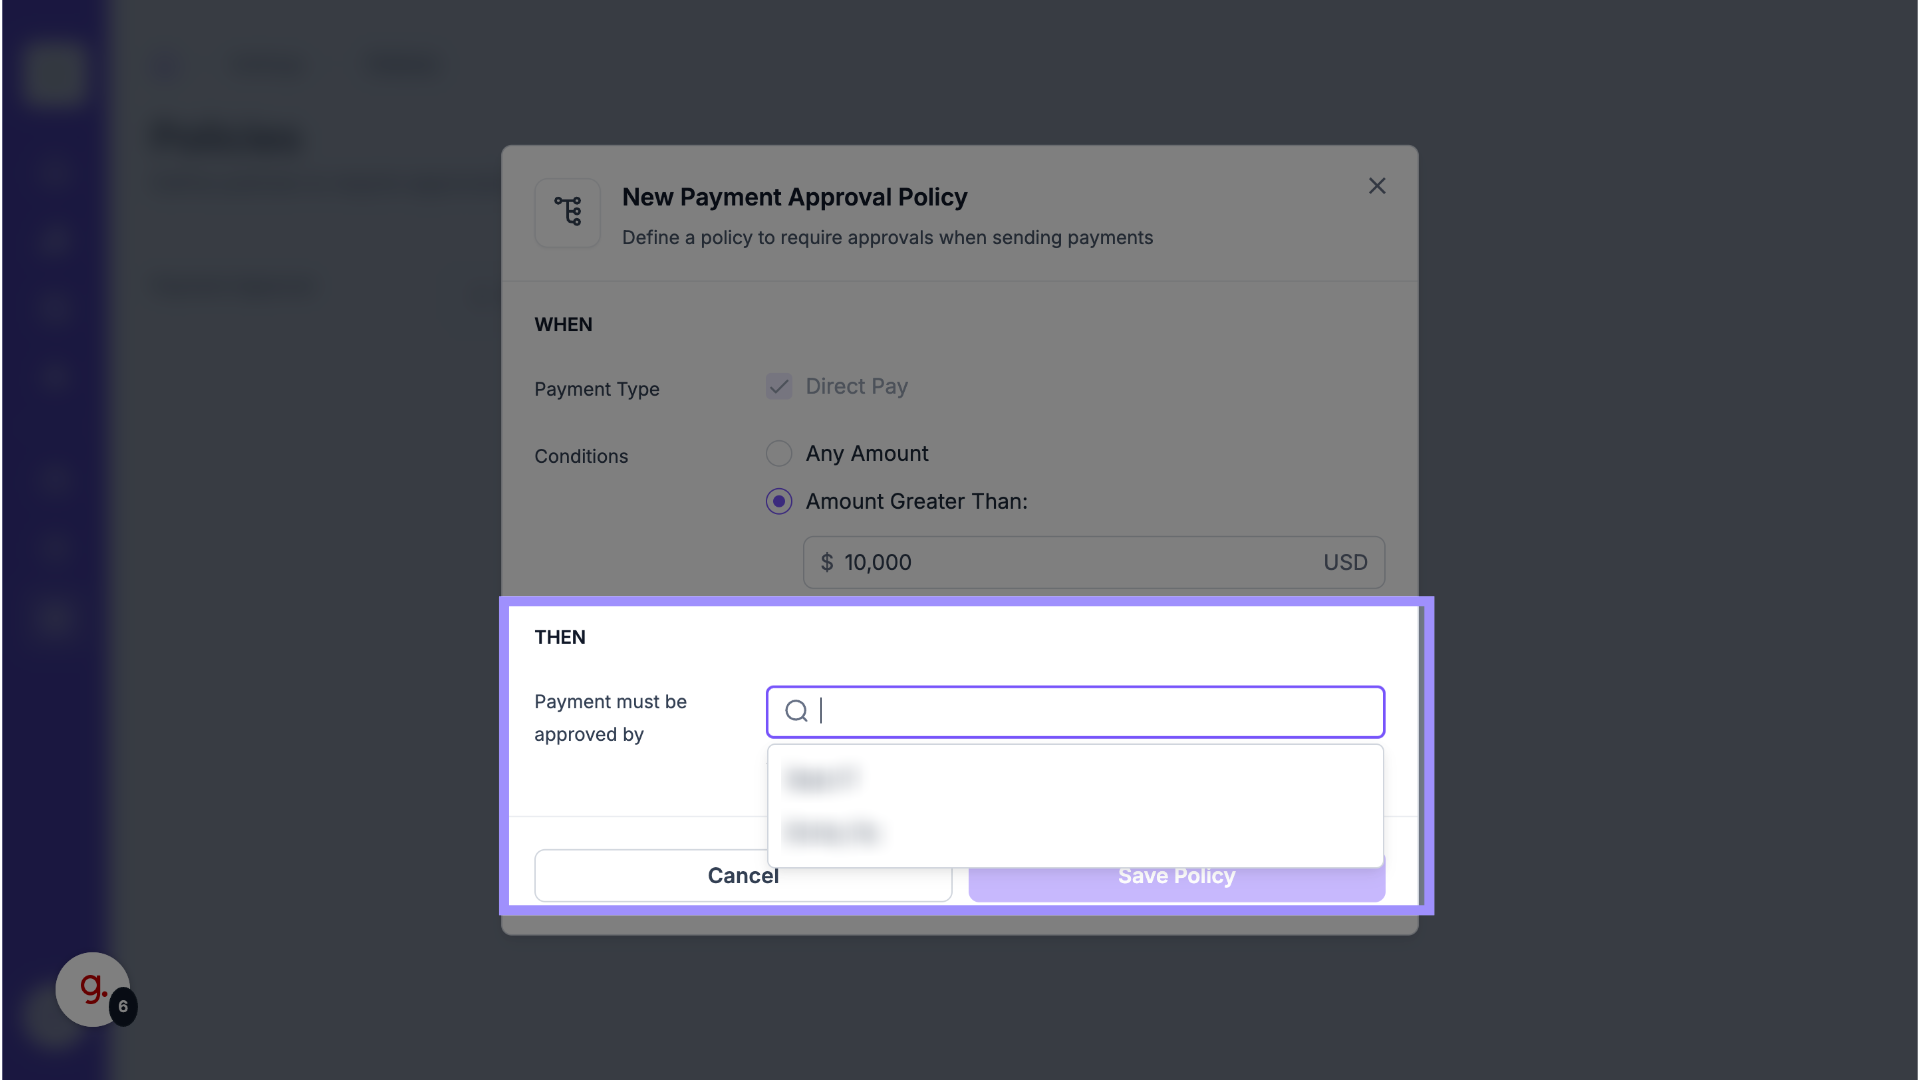
5. Select Conditions
Choose how the policy applies:
- Any Amount – requires approval for every payment.
-
Amount Greater Than – requires approval only for payments over a specific amount.
Enter the dollar threshold if applicable.
6. Choose Approvers
Select one or more team members who can approve payments.
- If you select multiple approvers in one policy, any one of them can approve.
- To require multiple approvals in sequence, create separate policies for each step (e.g., one for initial approval, one for final release).
- Only users with the Admin role can release payments after the final approval.
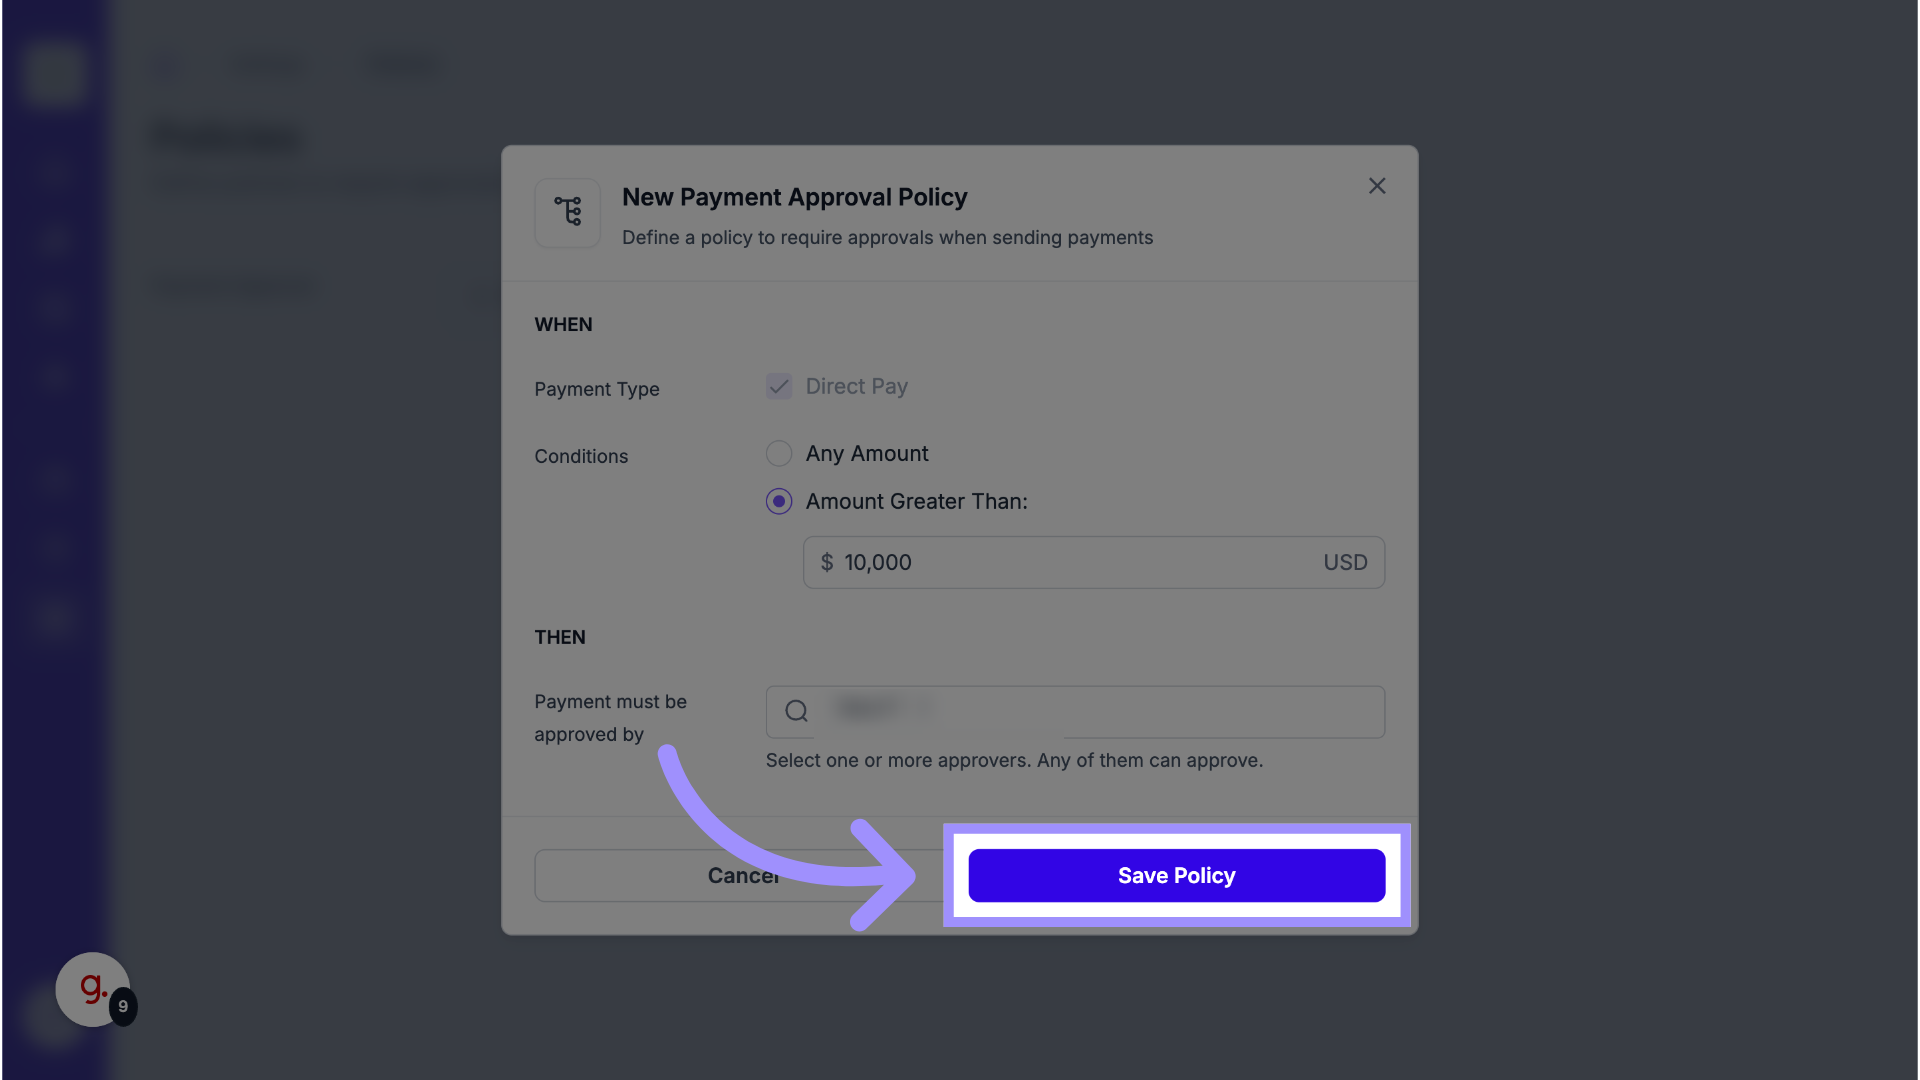
7. Save the Policy
Click Save Policy to activate it.
Note: New policies apply to future payments only and do not affect existing transactions.
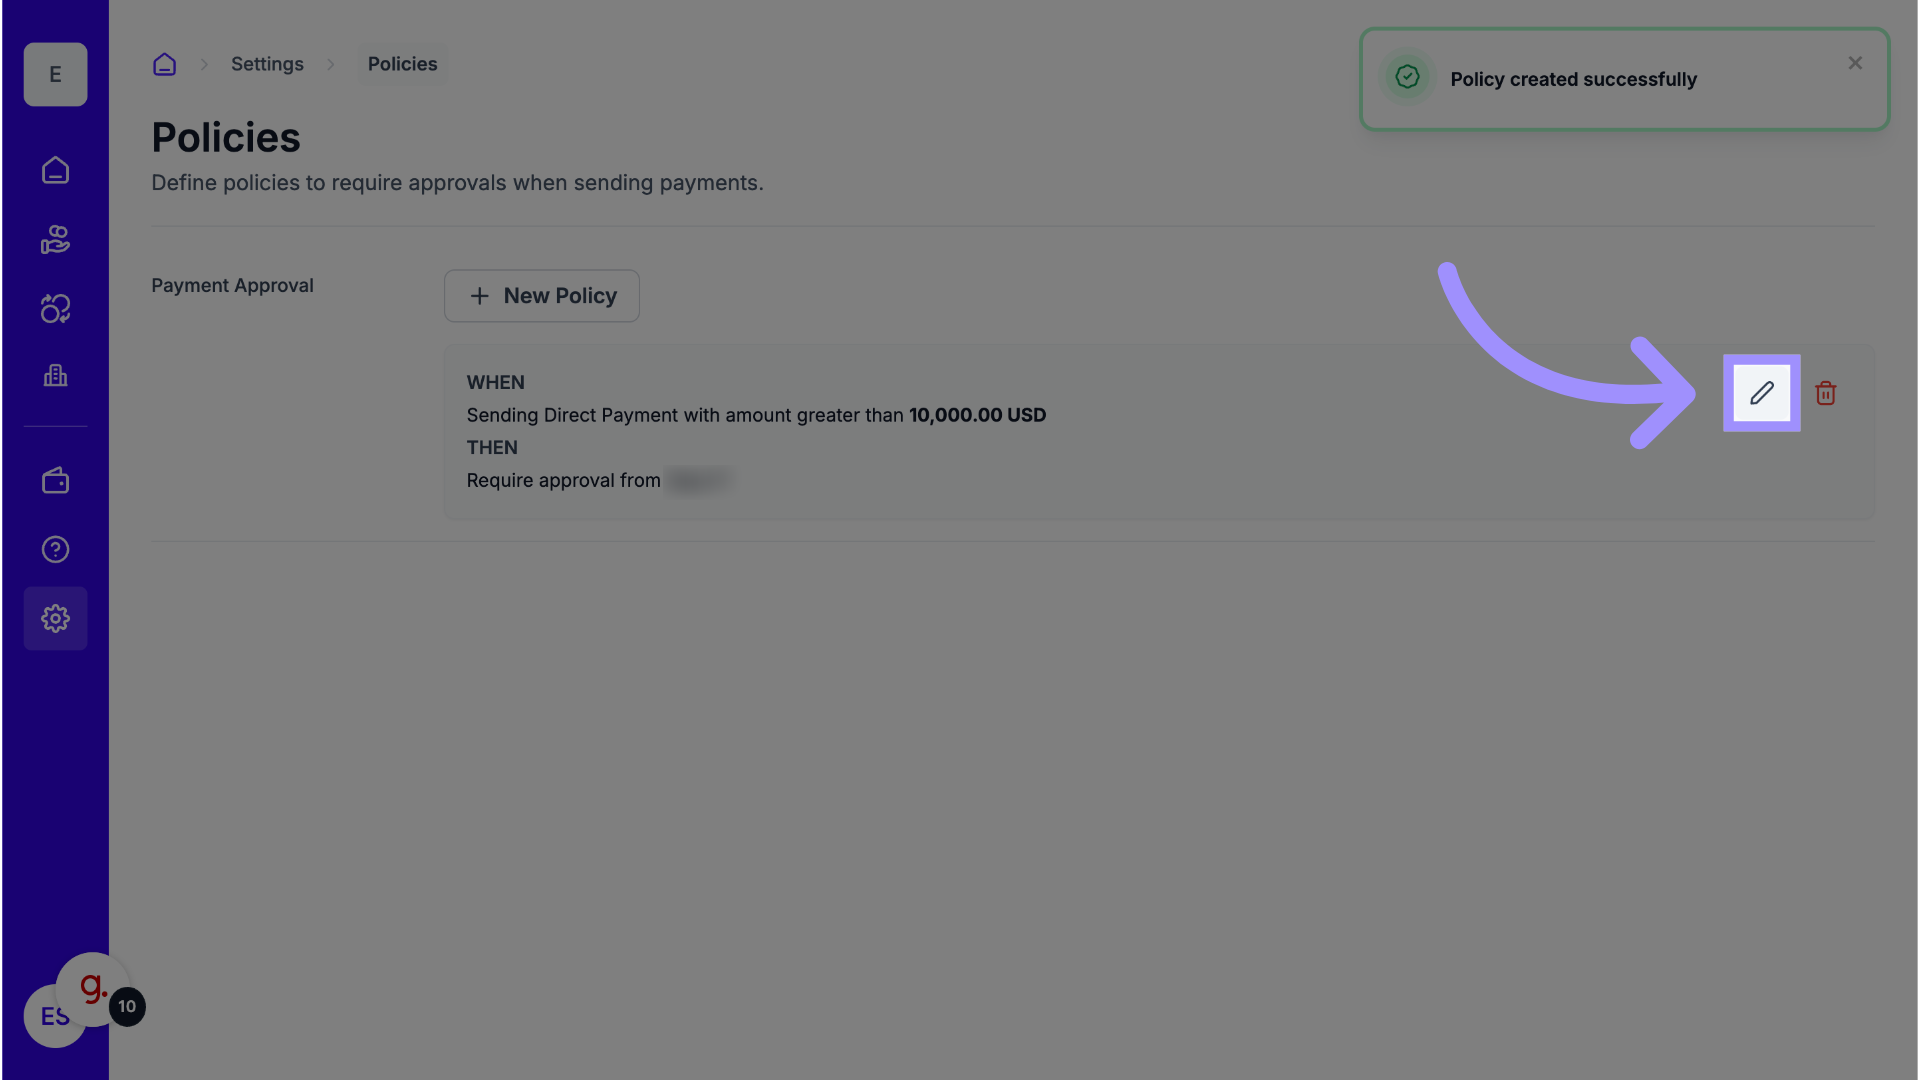
8. Edit an Existing Policy
To change a policy, go to Policies Overview and click the pencil icon next to the one you’d like to edit.
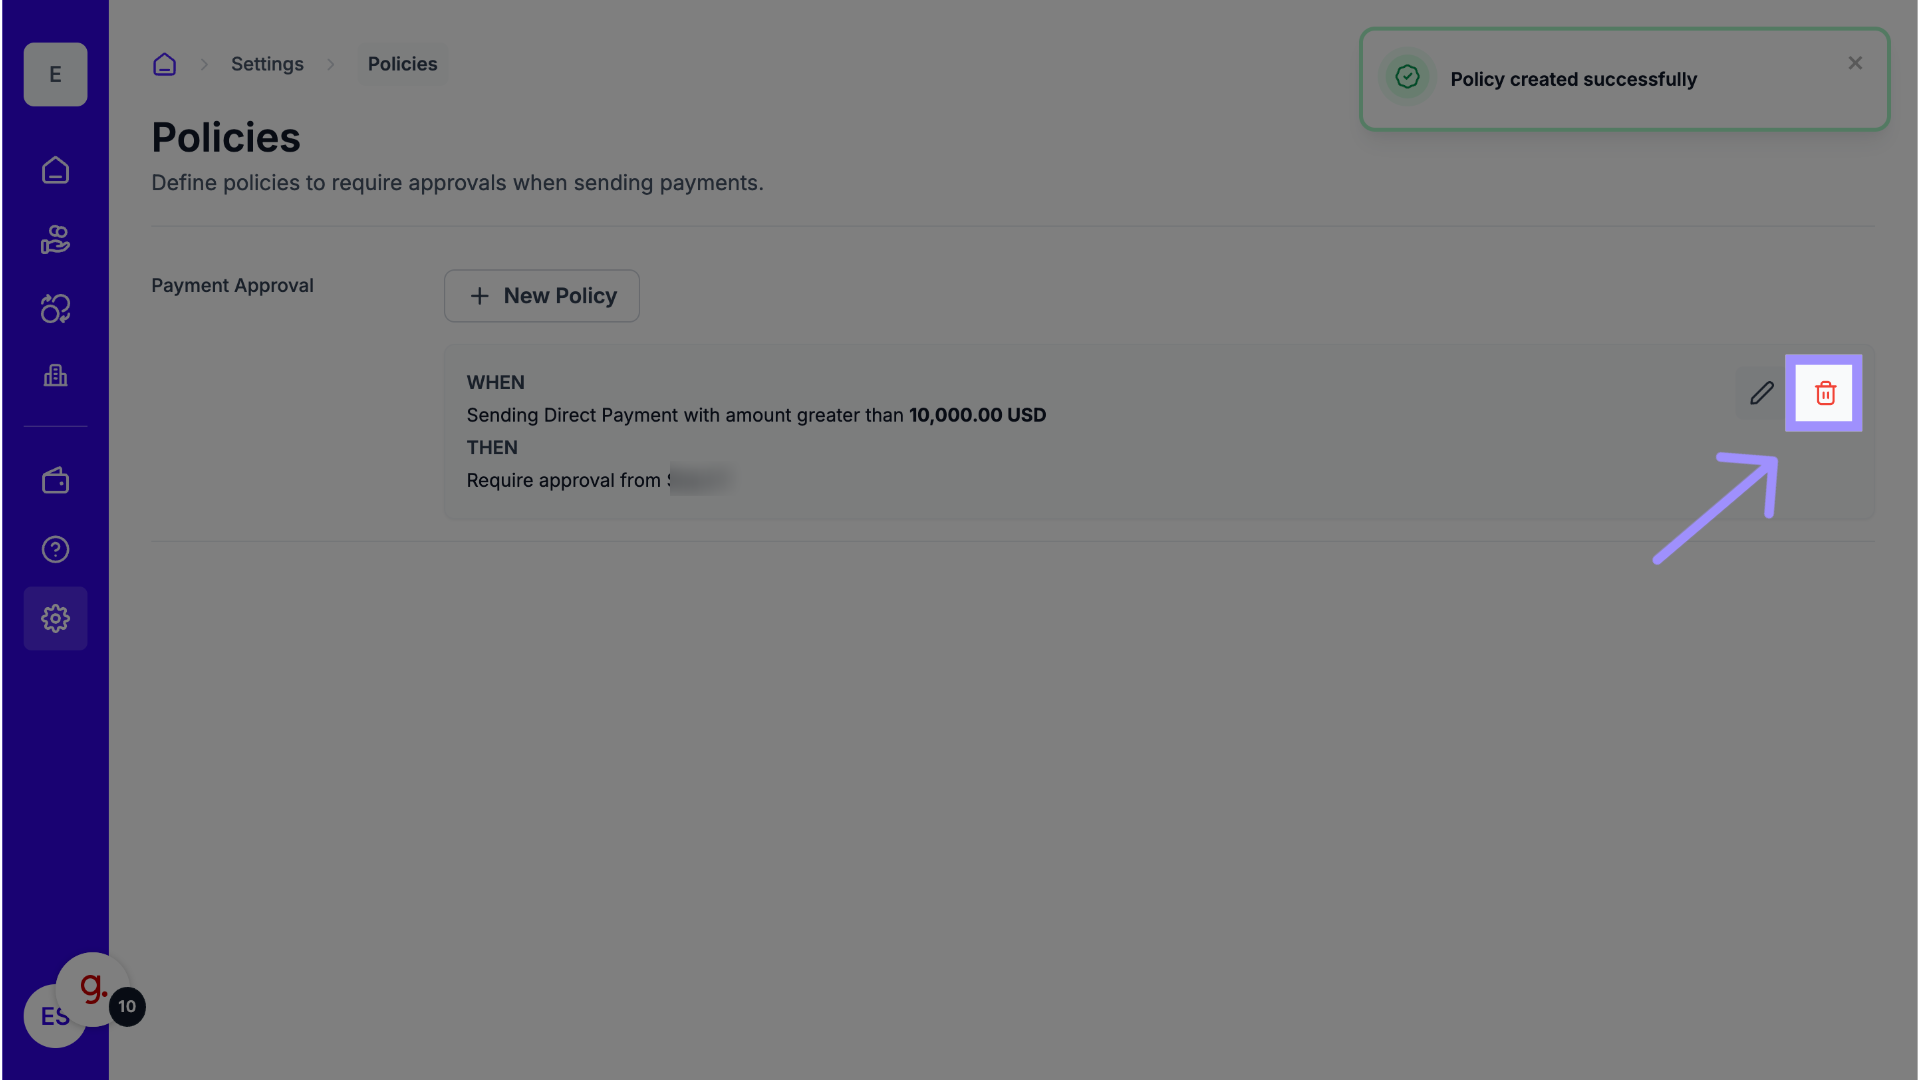
9. Delete a Policy
To remove a policy, click the trash can icon next to it.
Example: Multi-Level Approvals
To set up two-step approvals for different scenarios, you can create:
- Policy 1: Any Amount → Approver A or B
- Policy 2: Any Amount → Approver C (final approver)
- Policy 3: Amount Greater Than $10,000 → Approver D (for high-value payments)
These policies run in sequence from top to bottom and create a complete approval flow.
Why This Matters
Approval Policies add an extra layer of protection and accountability by requiring review before funds move. They help your business maintain control, reduce fraud risk, and align with internal approval workflows.
Tips and Notes
- Only Admin users can create, edit, or delete policies.
- Policy changes apply only to new payments.
- Approvers receive an email notification when an approval is required.
- You can create multiple policies for different payment thresholds or approver groups.
- Approval Flows currently apply only to Simple Pay transactions.