
How to Request a Simple Pay
This guide will walk you through the process of requesting a Simple Payment in your account. Follow each step carefully to ensure the payment request is sent successfully.
1. Go to your Dashboard
From your Dashboard, you can start a payment request in two ways.
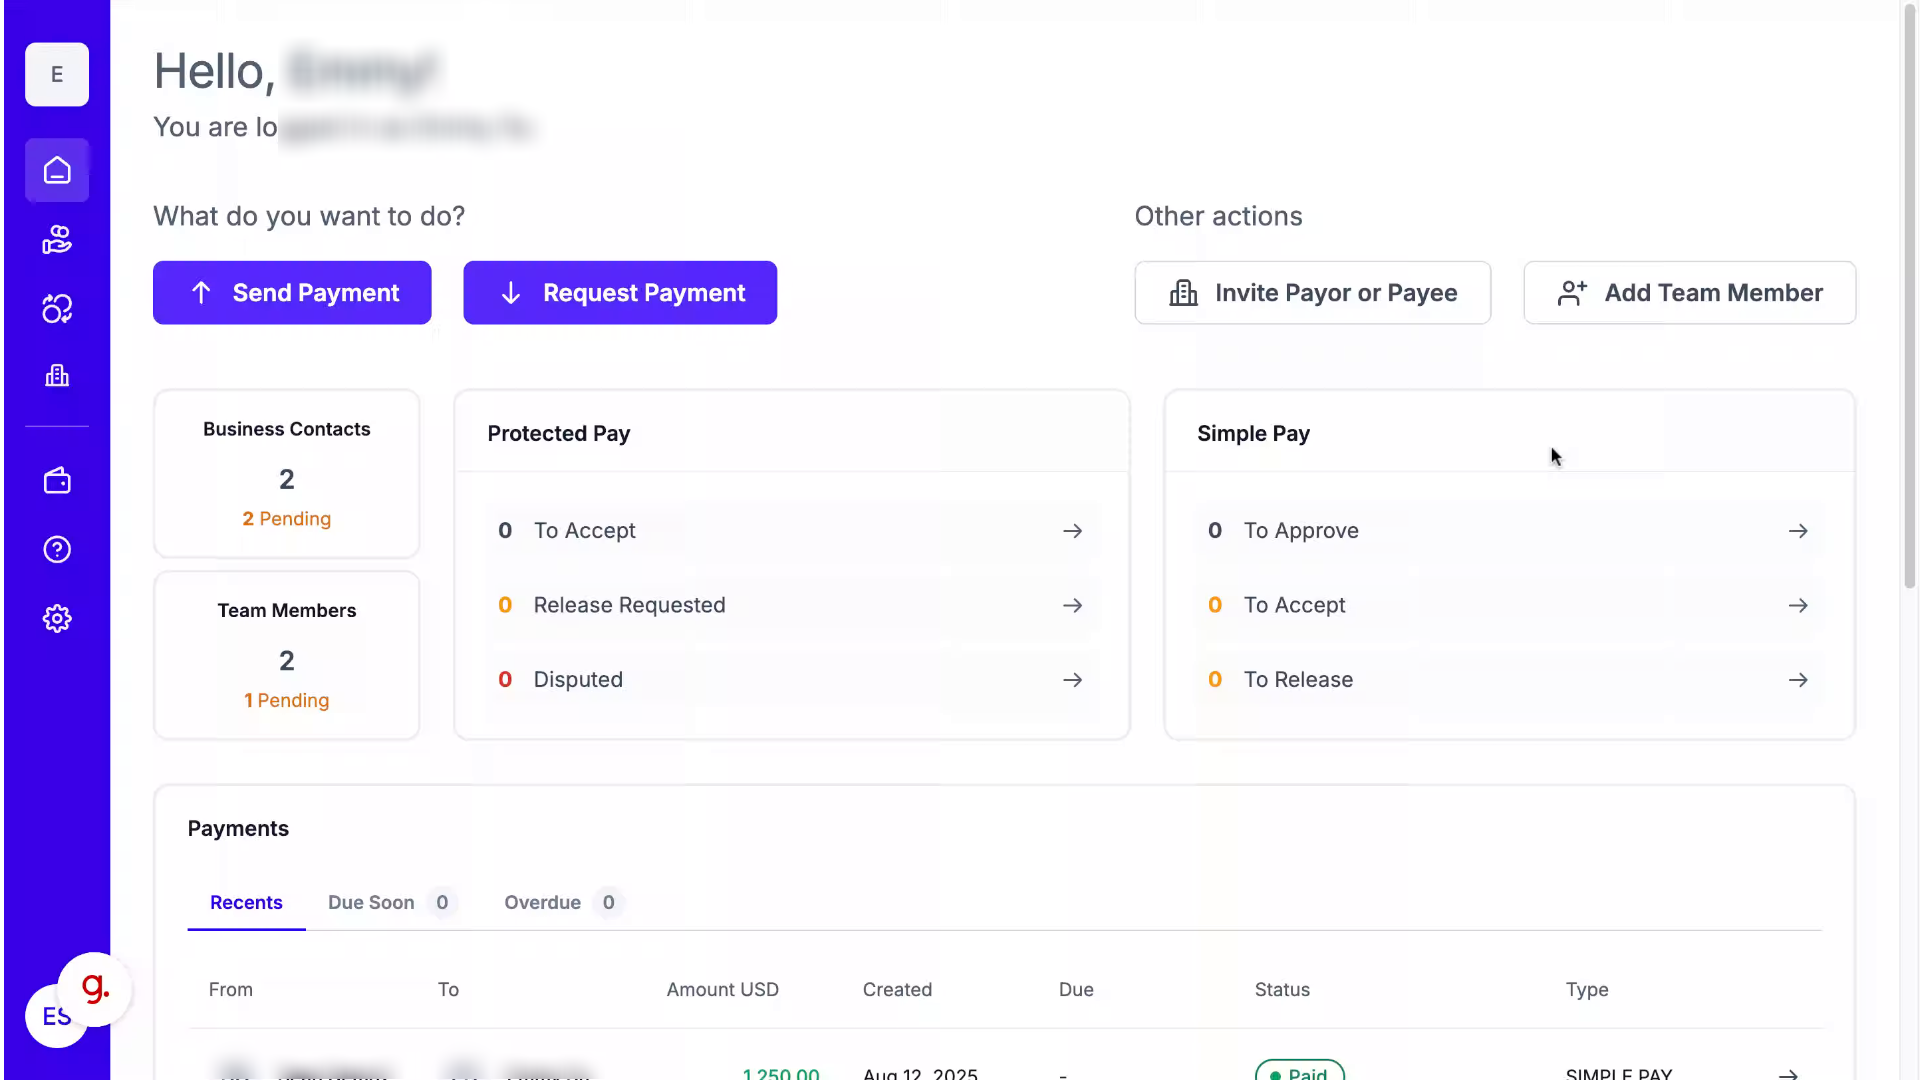
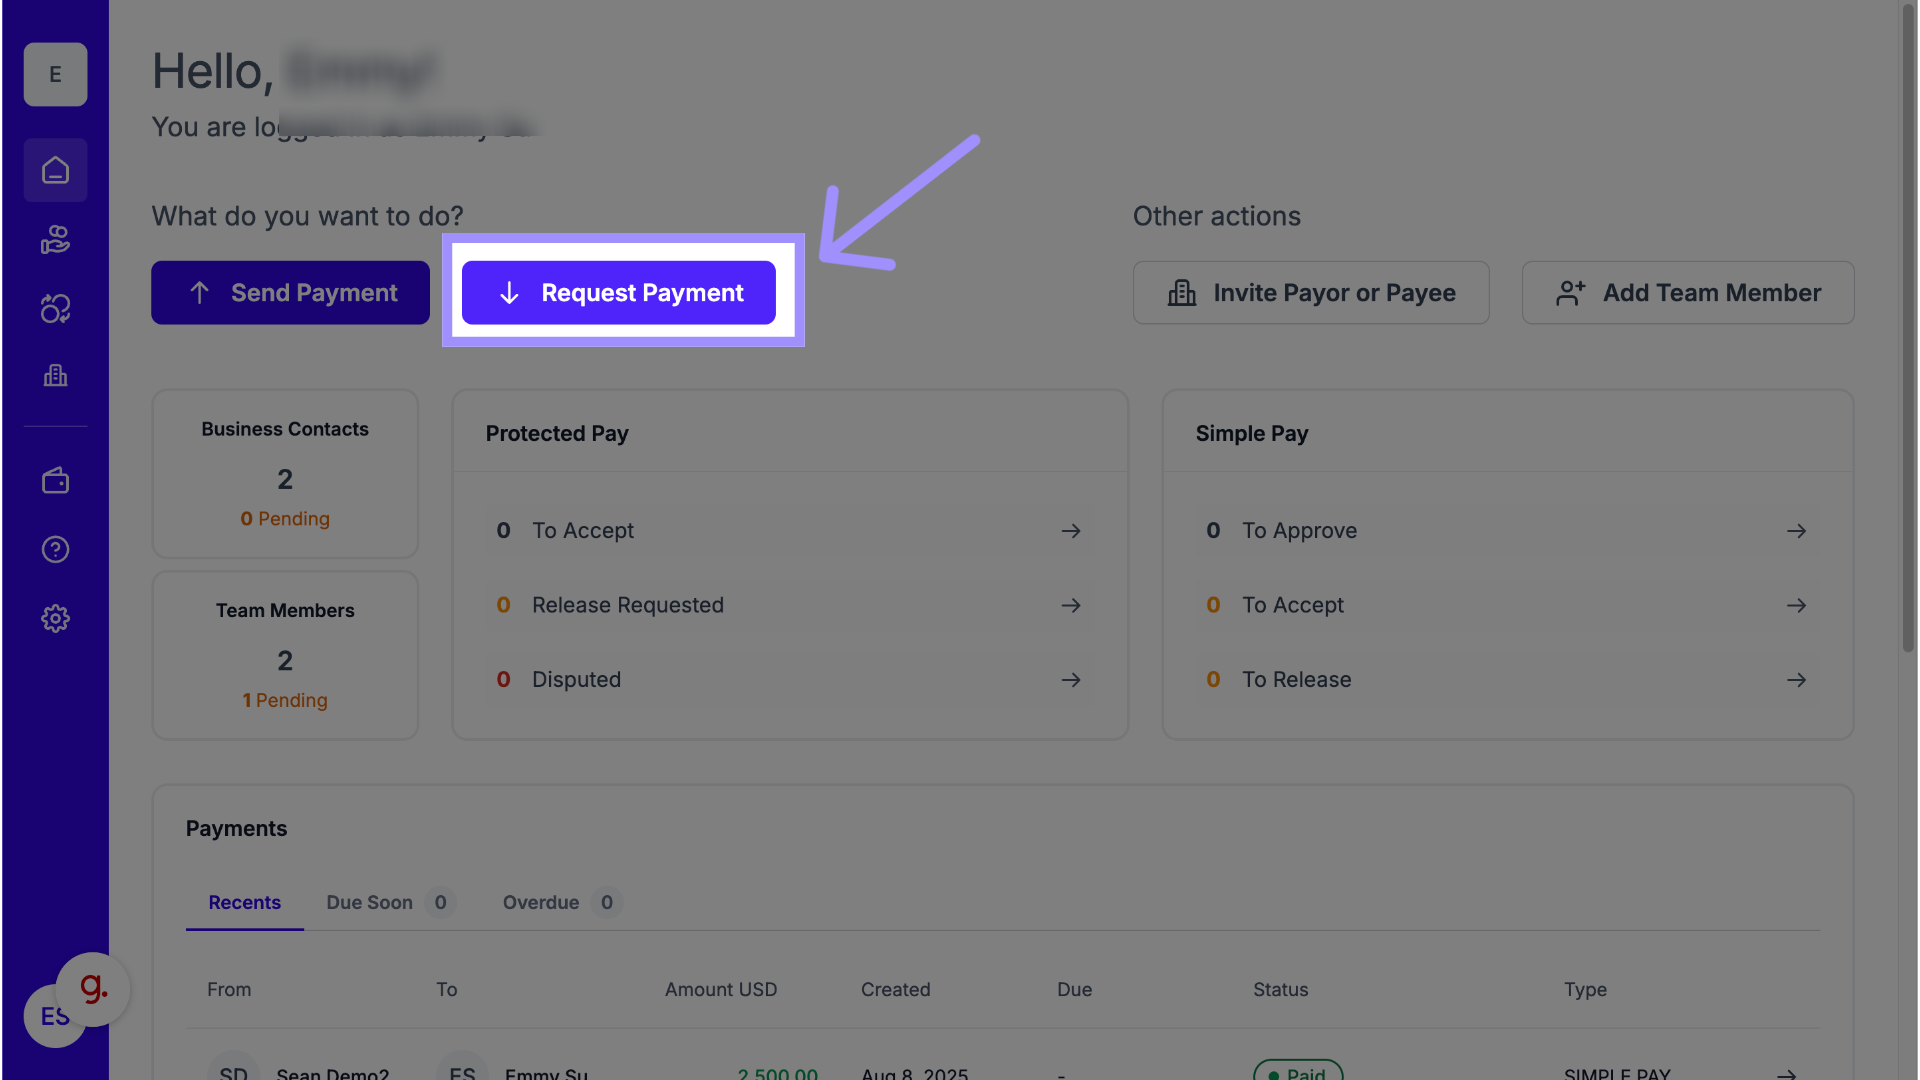
2. Dashboard
On your dashboard, click Request Payment.
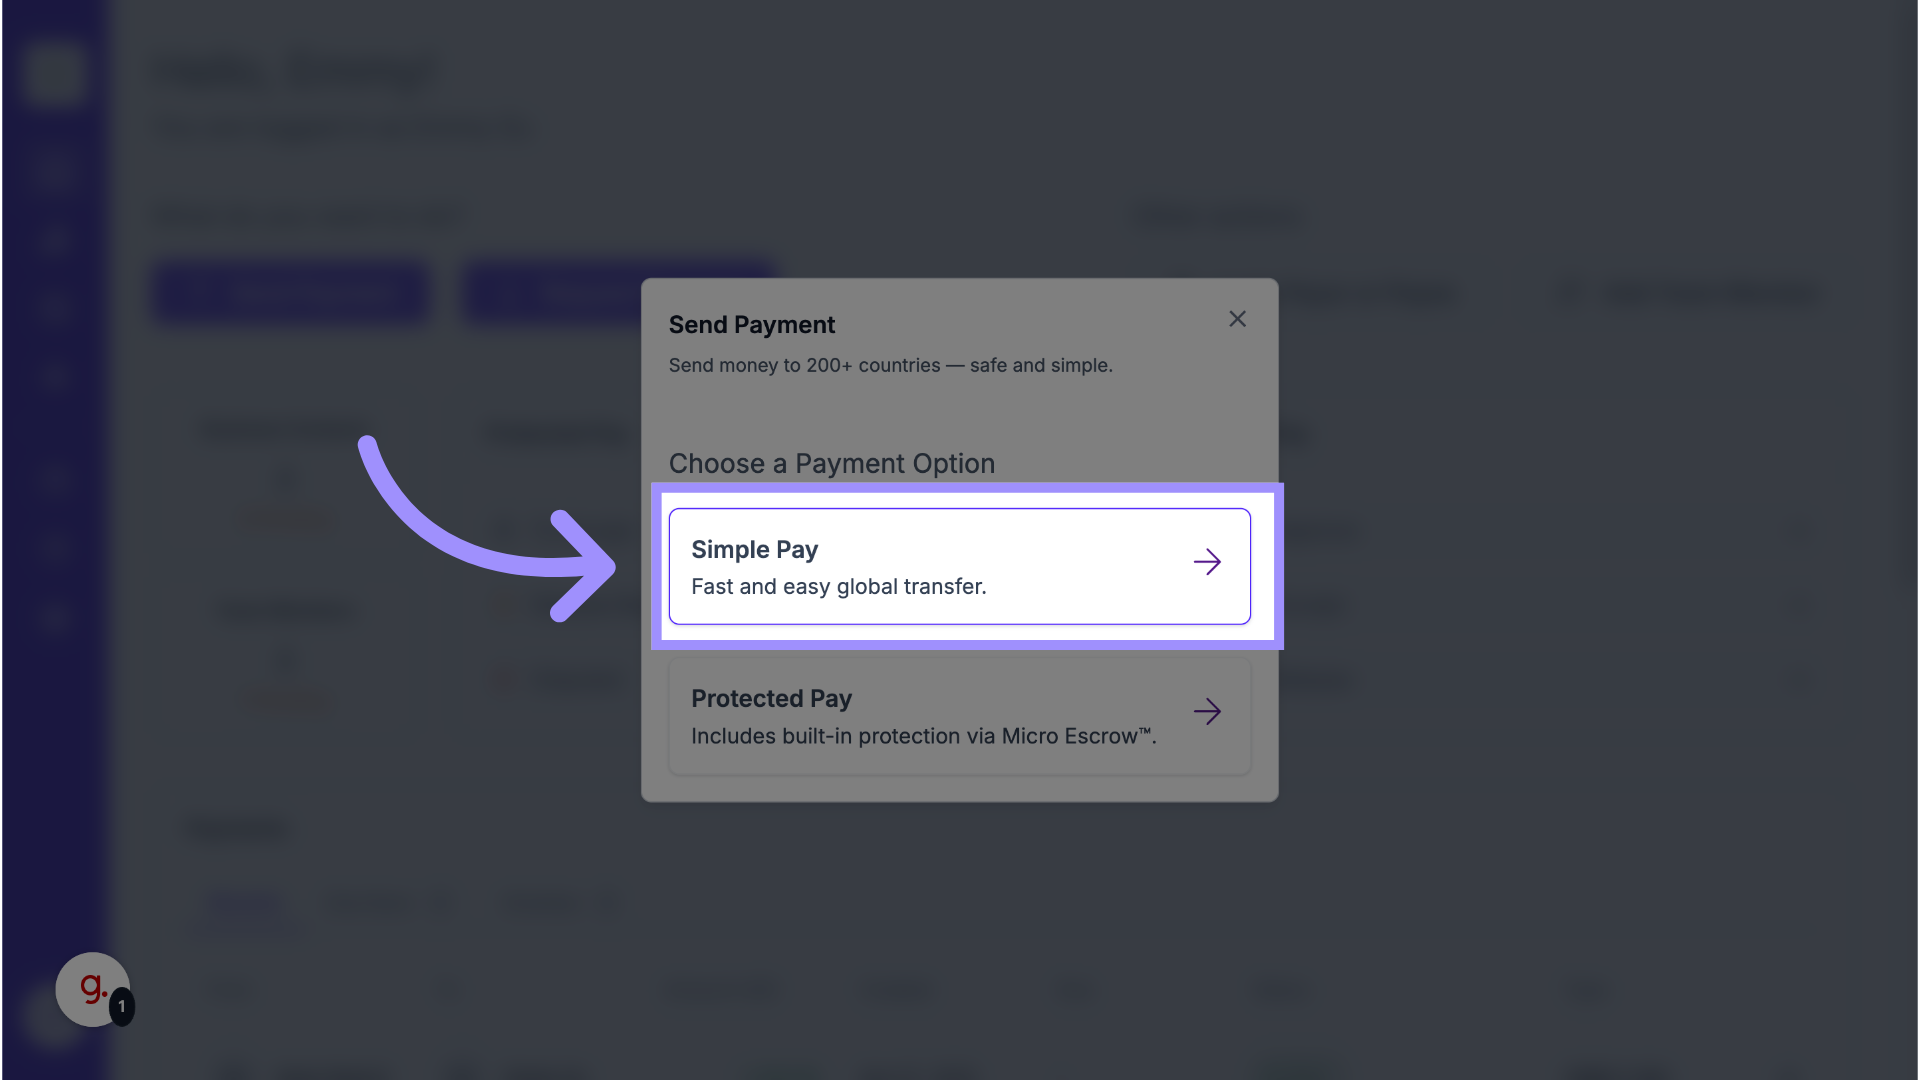
3. Simple Pay
Then select Simple Pay.
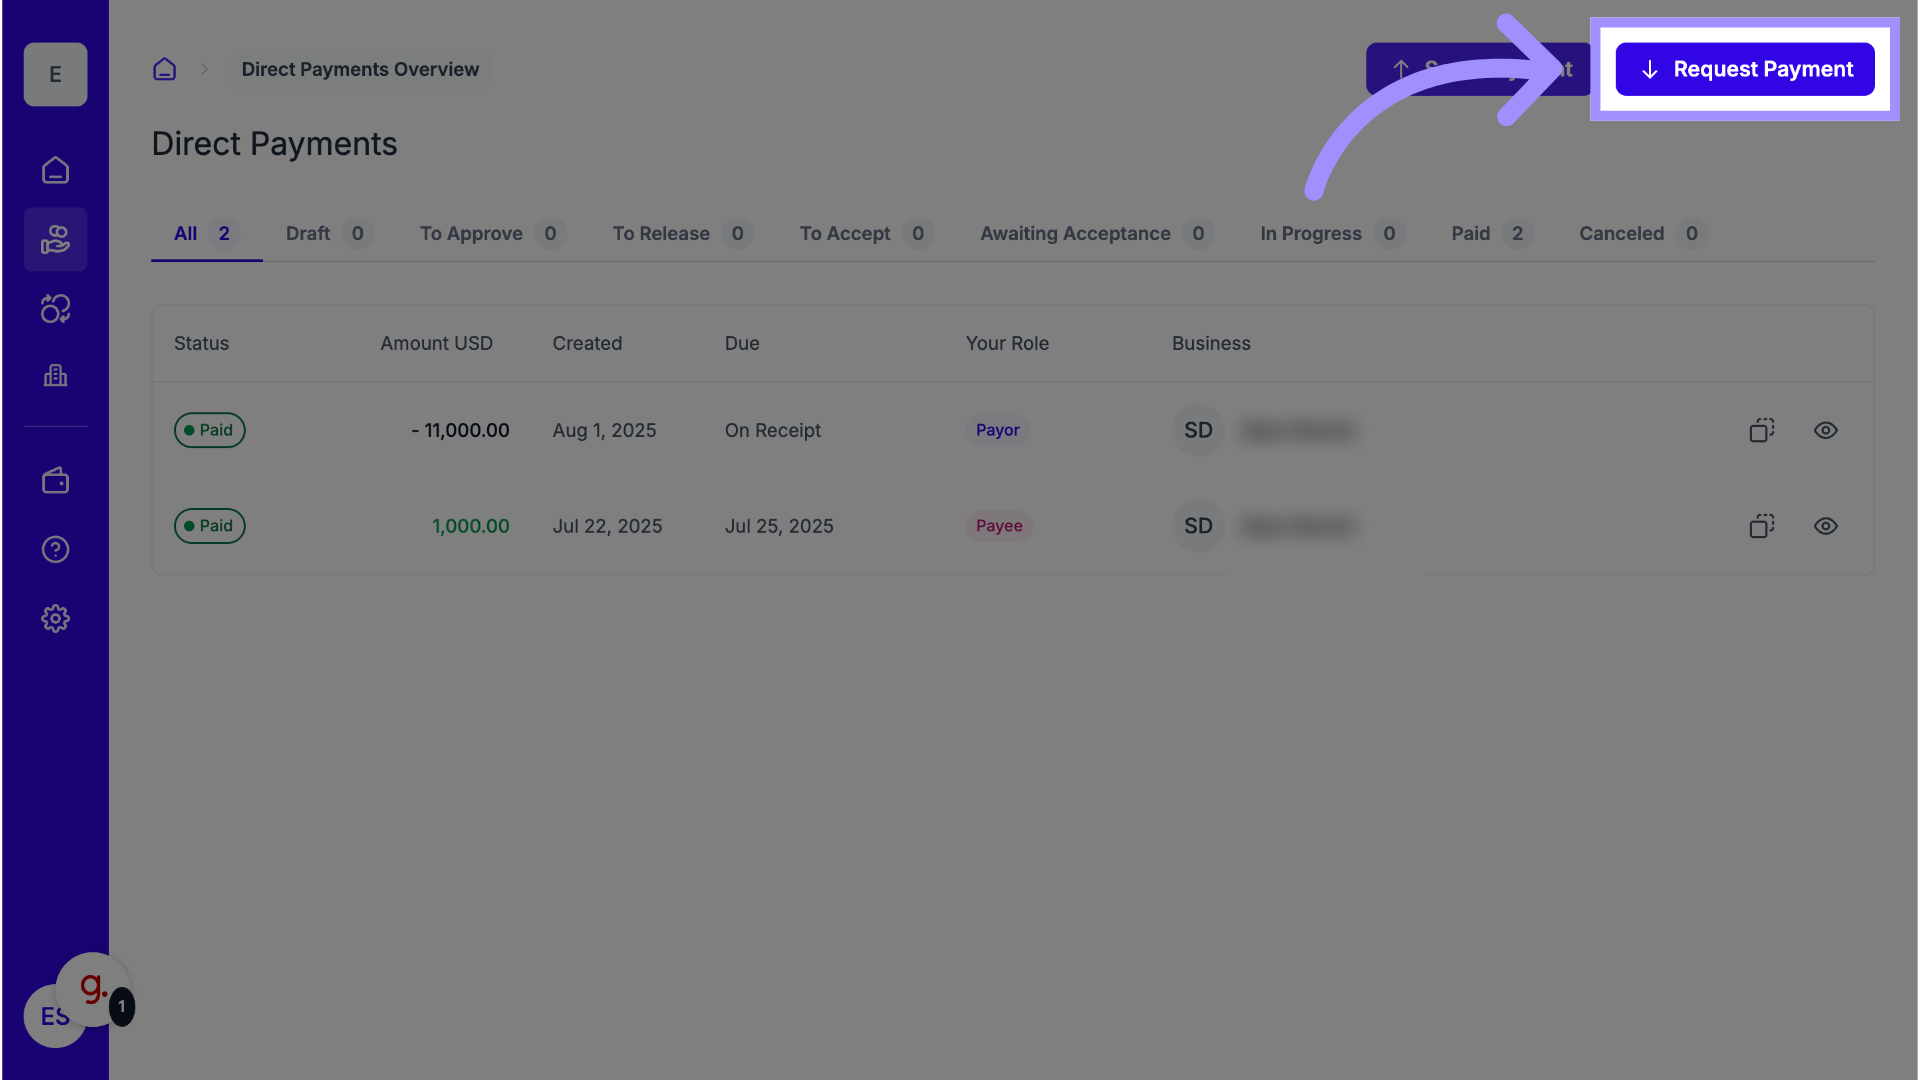
4. Left Navigation Panel
Alternatively, from the left navigation panel, click the Simple Pay icon.

5. Click "Request Payment"
Then click Request Payment in the top right corner.
6. Ensure You're Connected
To start any type of payment request you must first be connected with the payor as a business contact. If you aren't already connected with them, you or the other business must send and accept a connection invitation first. You won't be able to request a payment otherwise. See the article titled "How do I Invite Another Business to Pay or Get Paid by Them?" for more details.

7. Not Connected
As you can see here, payments will not be sent if you are not connected with the payor.
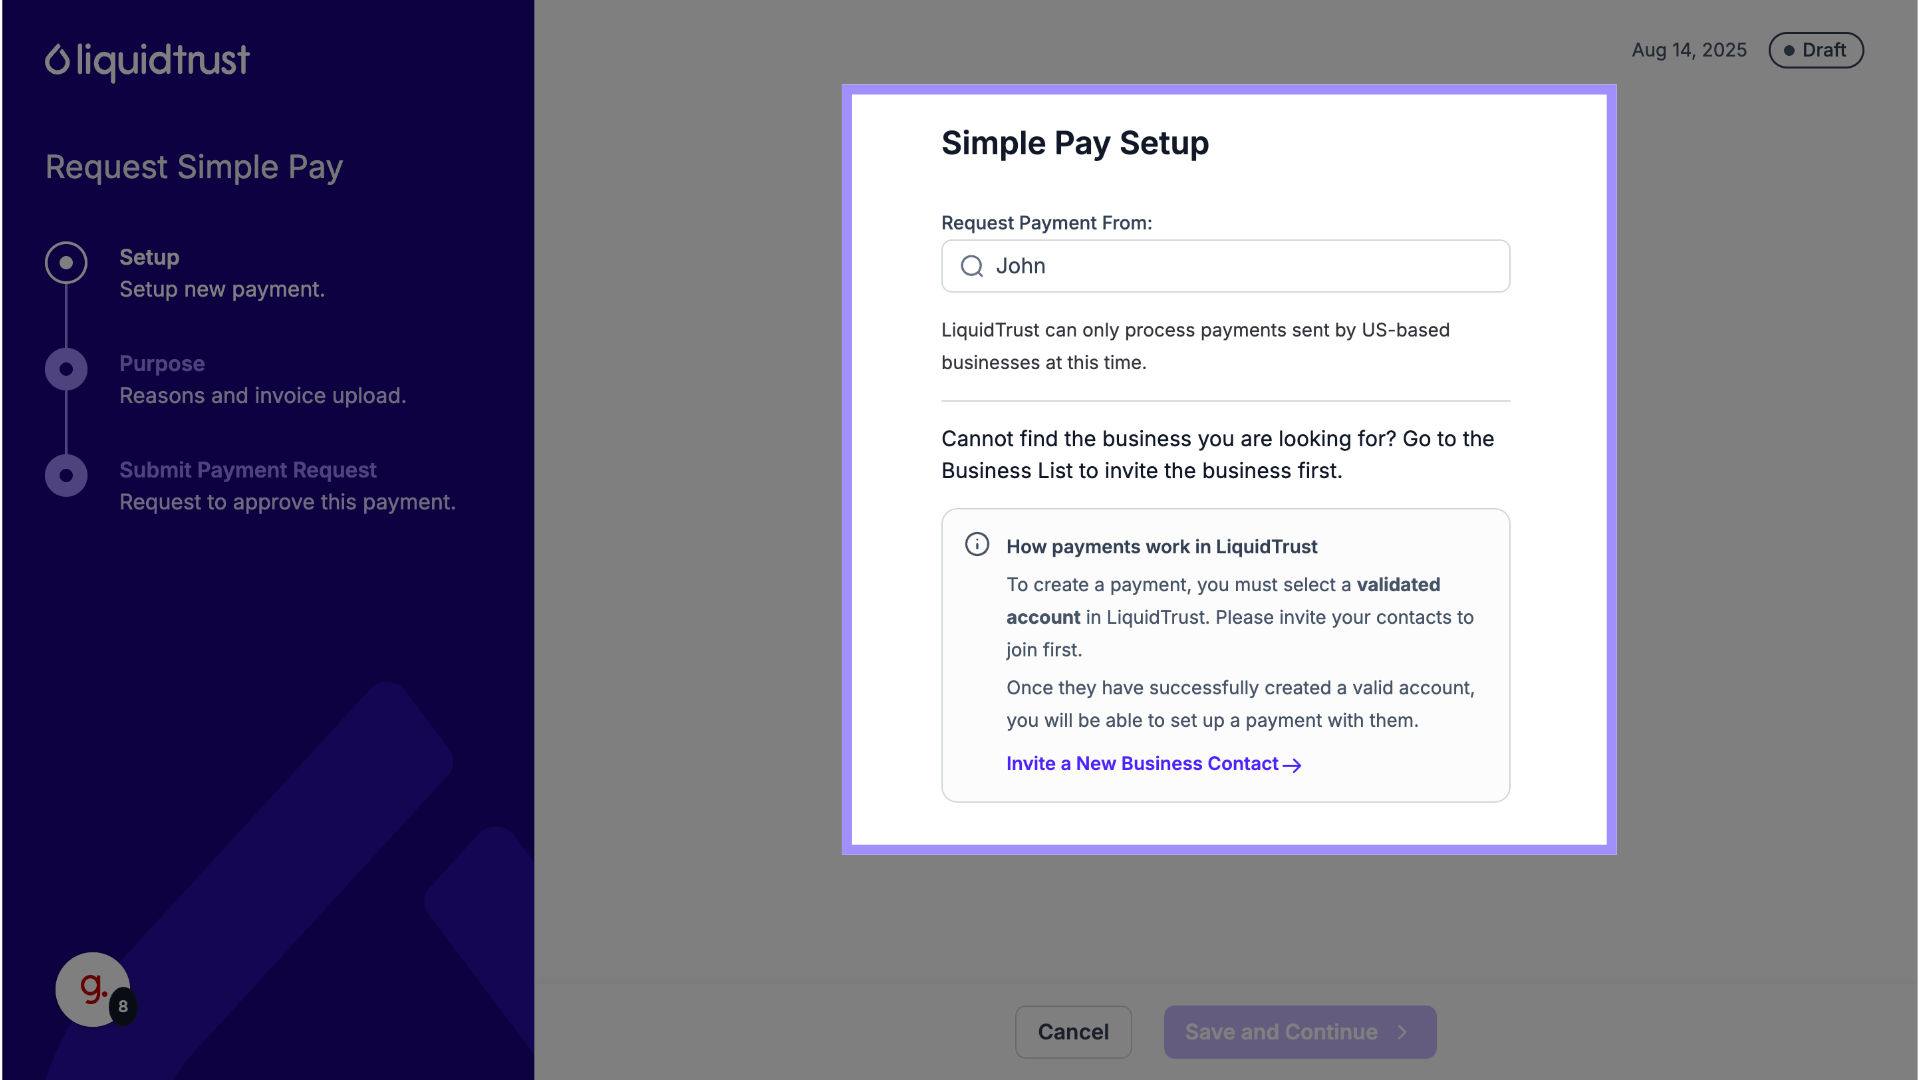
8. Select a Connected Business
If you are already connected with that business, you can select them from your contacts list on this page.

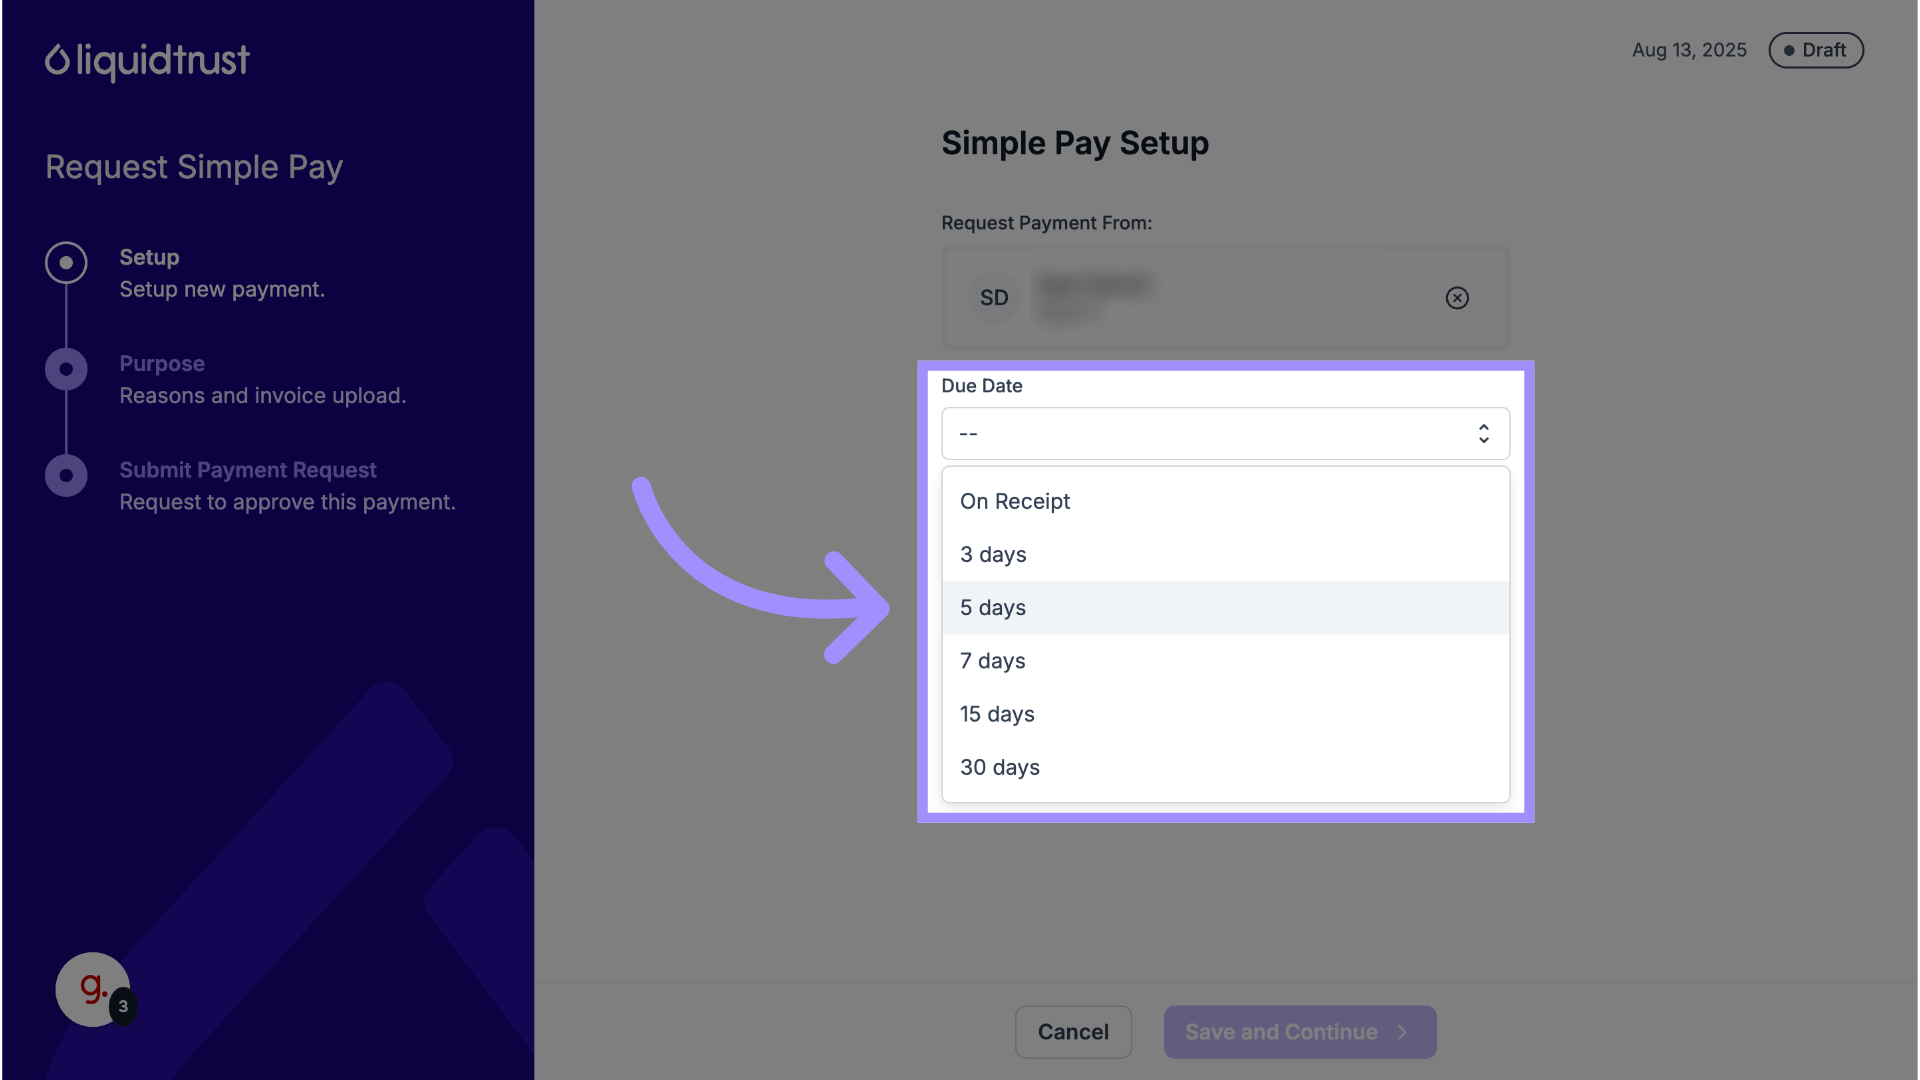
9. Due Date
Then select a due date. Note: this is for information purposes only for you and your payor.
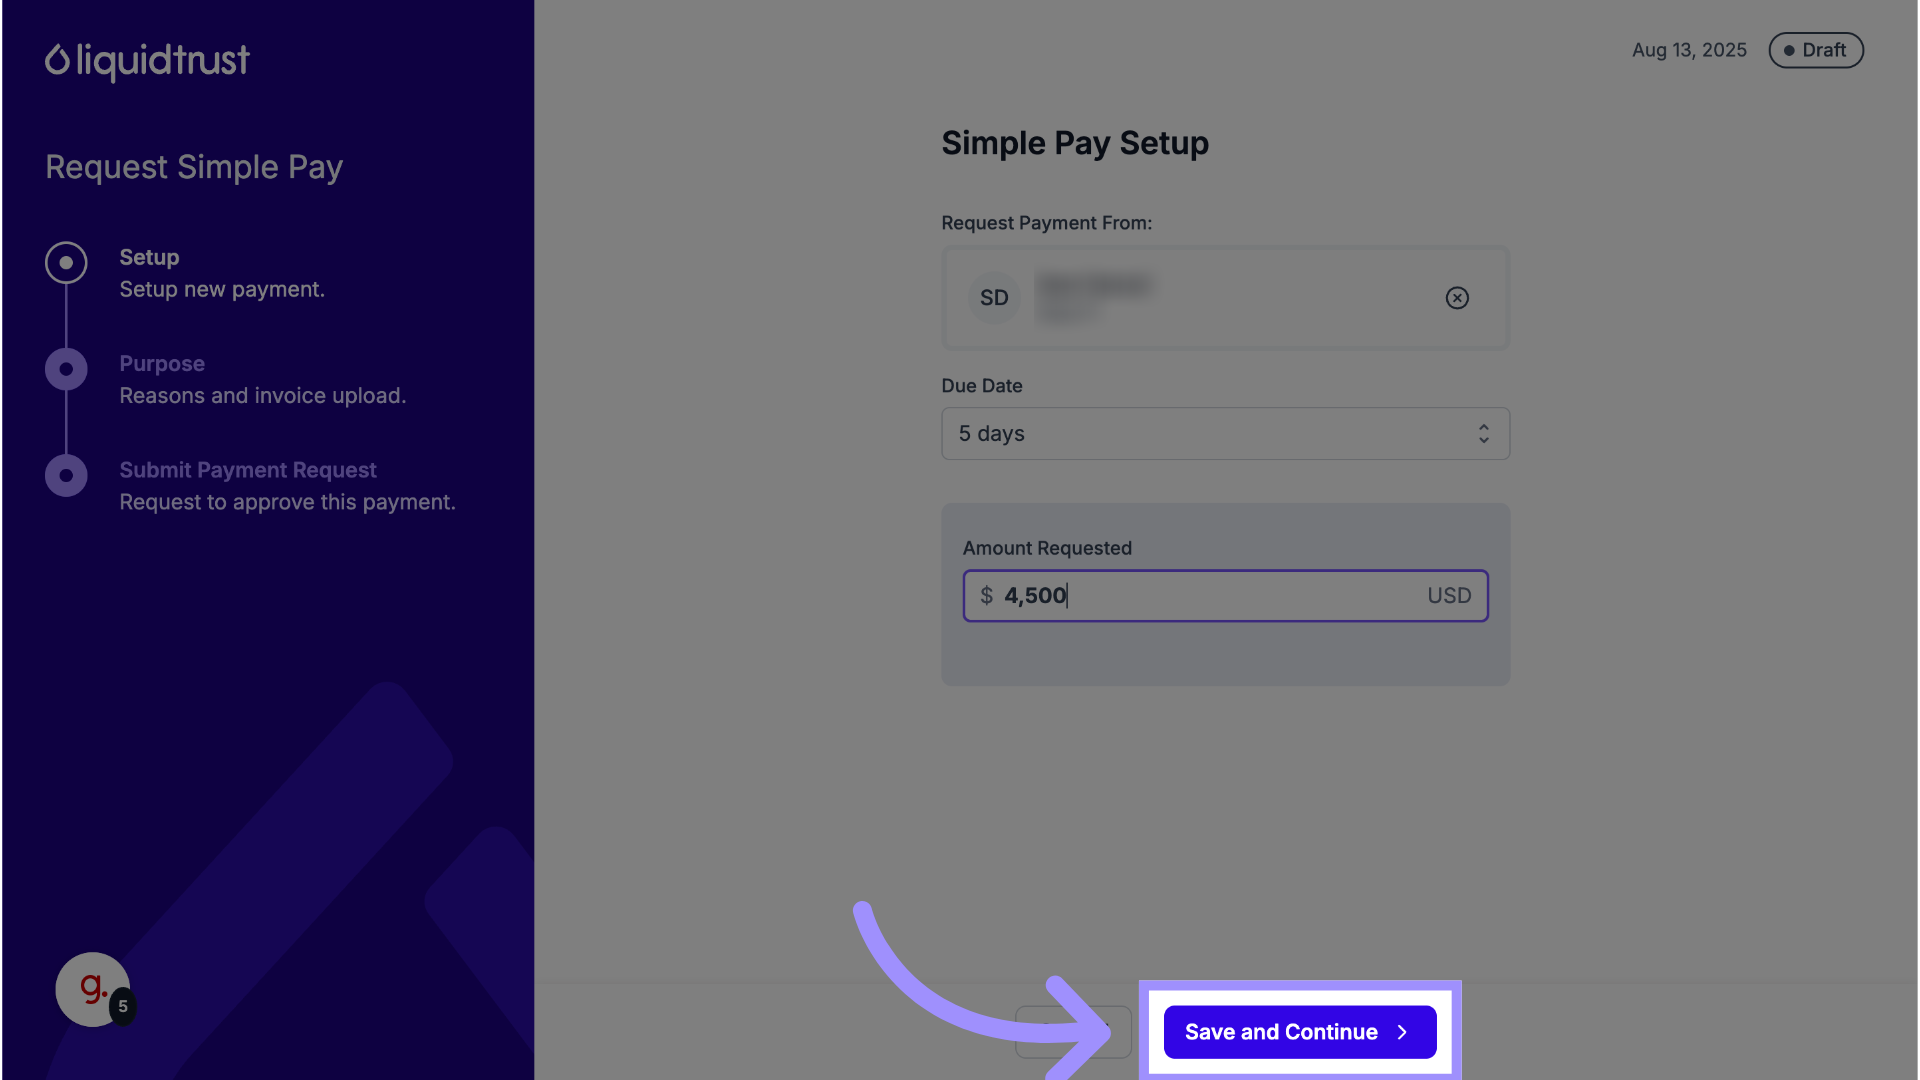
10. Enter Payment Amount
Specify the payment amount.

11. Click "Save and Continue"
Save the entered information and proceed.
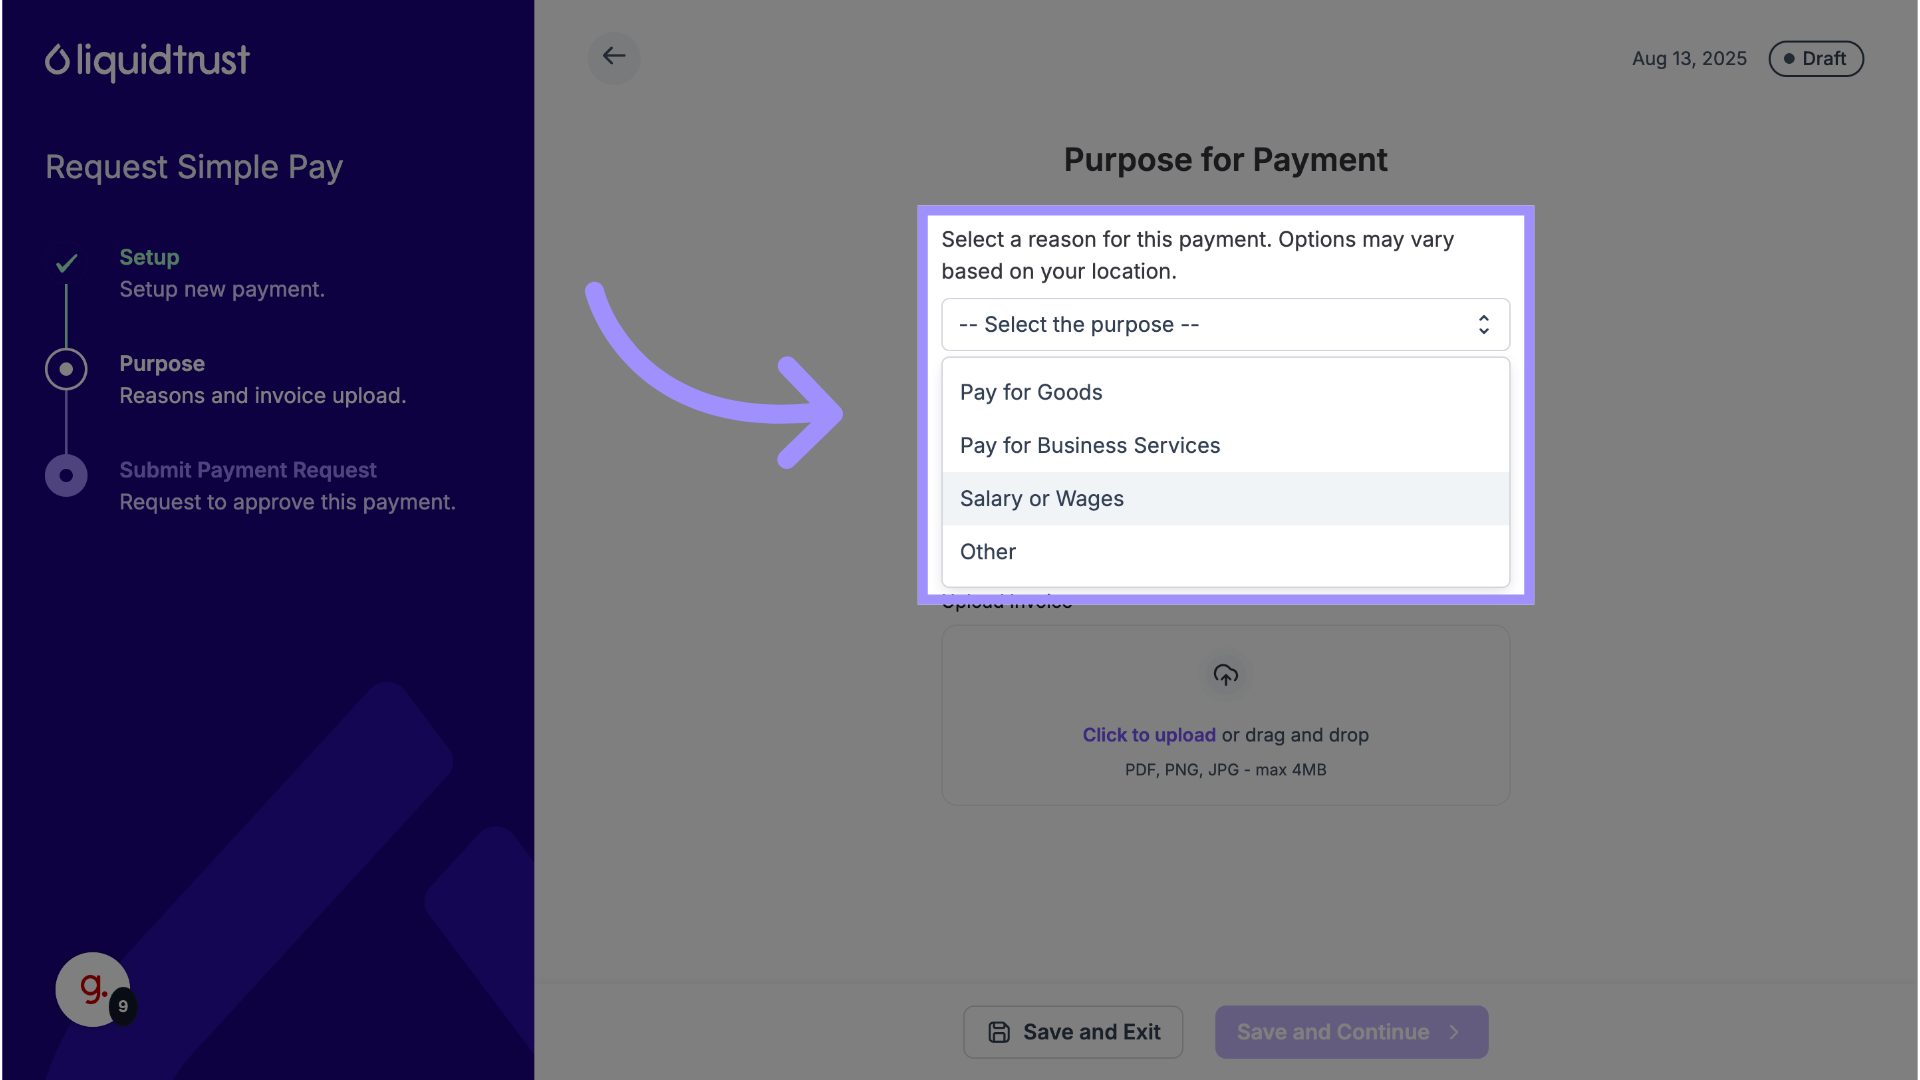
12. Provide the Purpose of Payment
Next, select the Purpose for Payment from the dropdown list. The options available will depend on the country in which your default payment method is located.
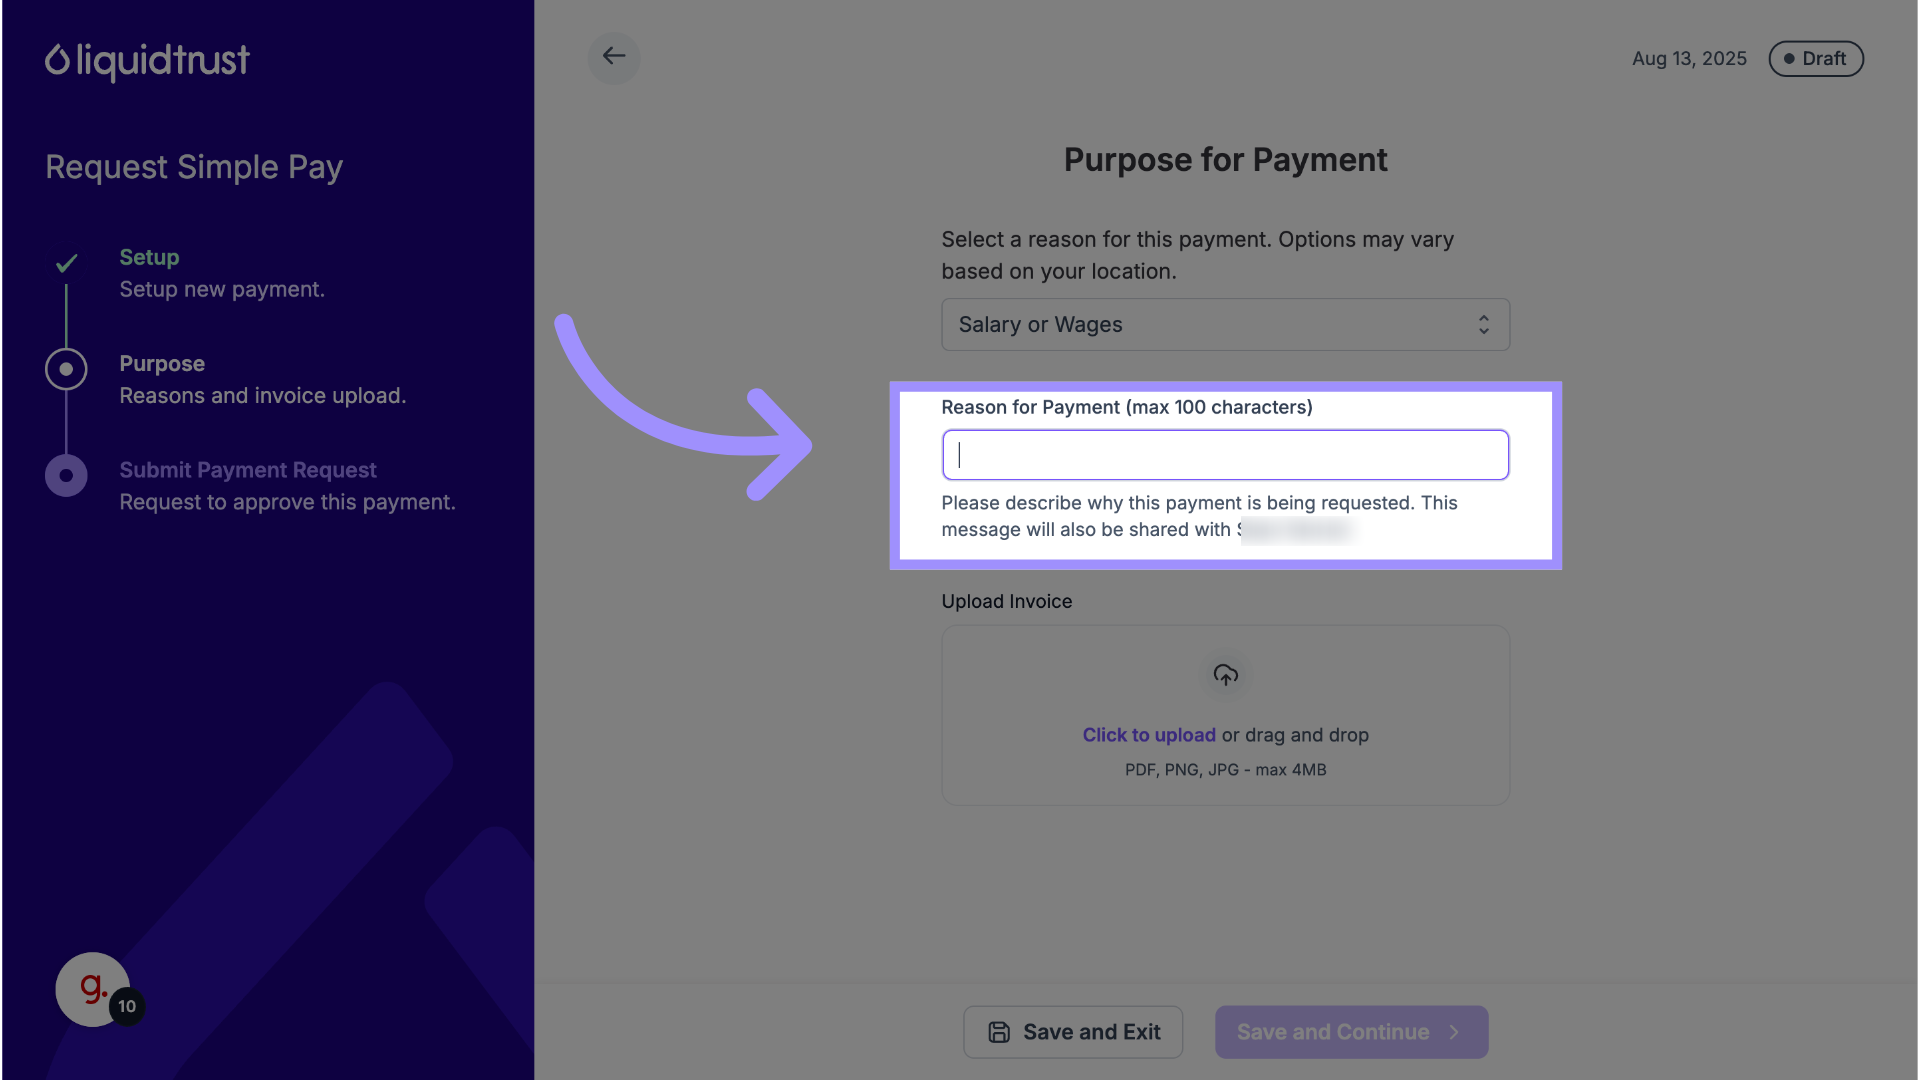
13. Reason for Payment
Then, in the Description field, provide a reason for the request.
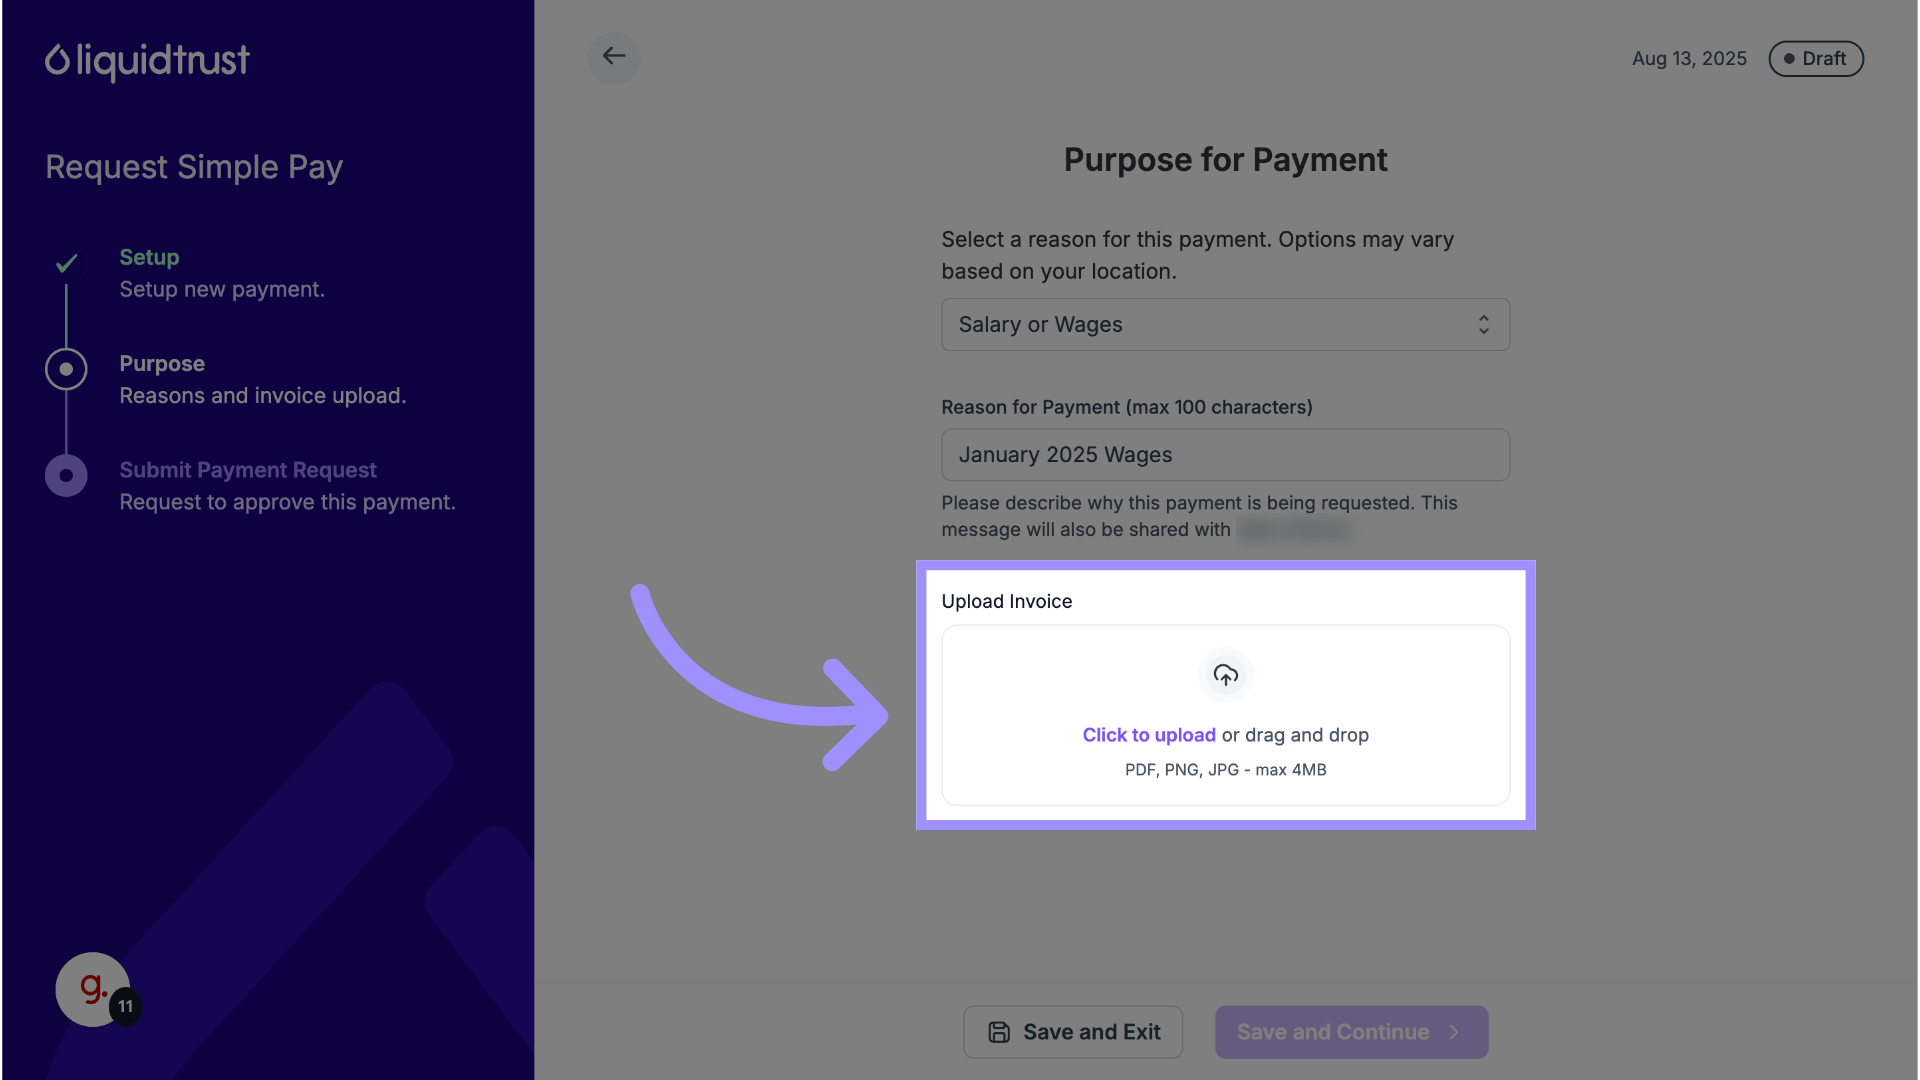
14. Upload Invoice
Finally, you must upload an invoice to proceed.
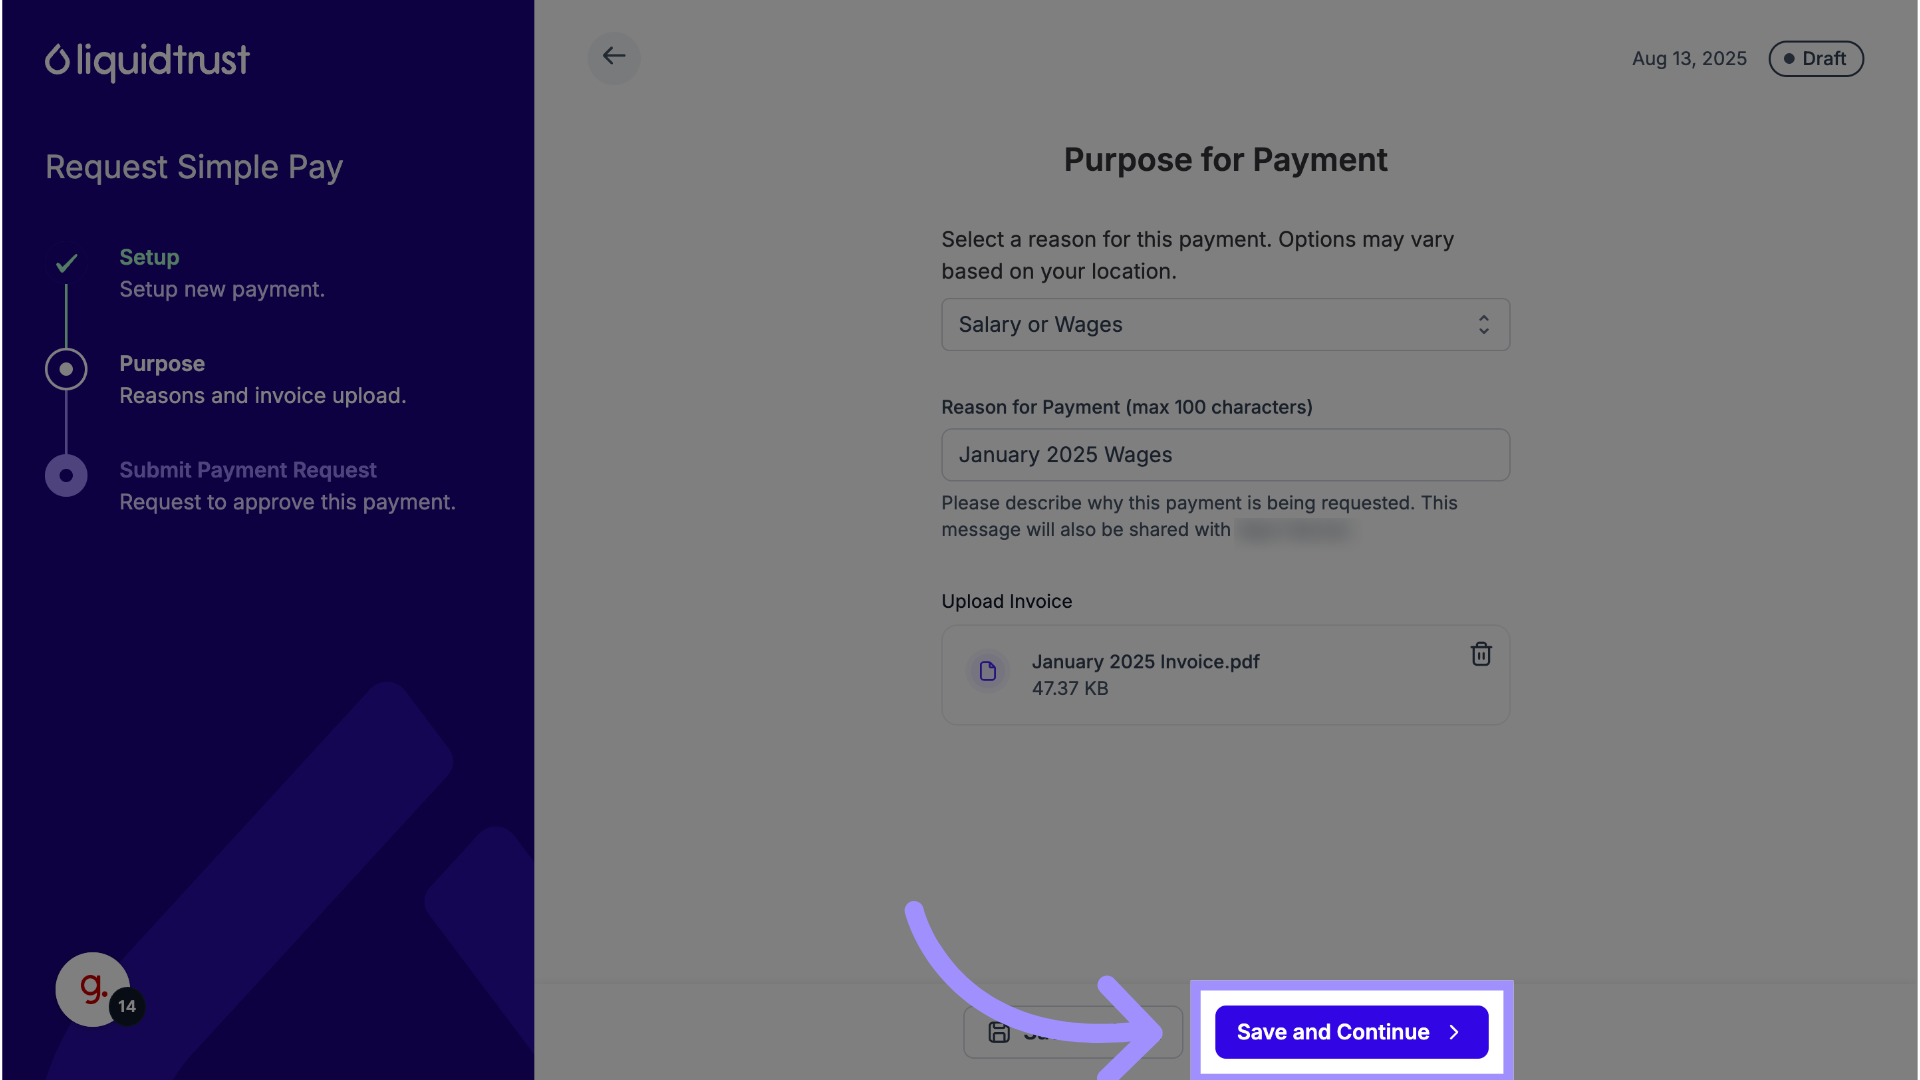
15. Save and Continue
Once uploaded, click Save and Continue.
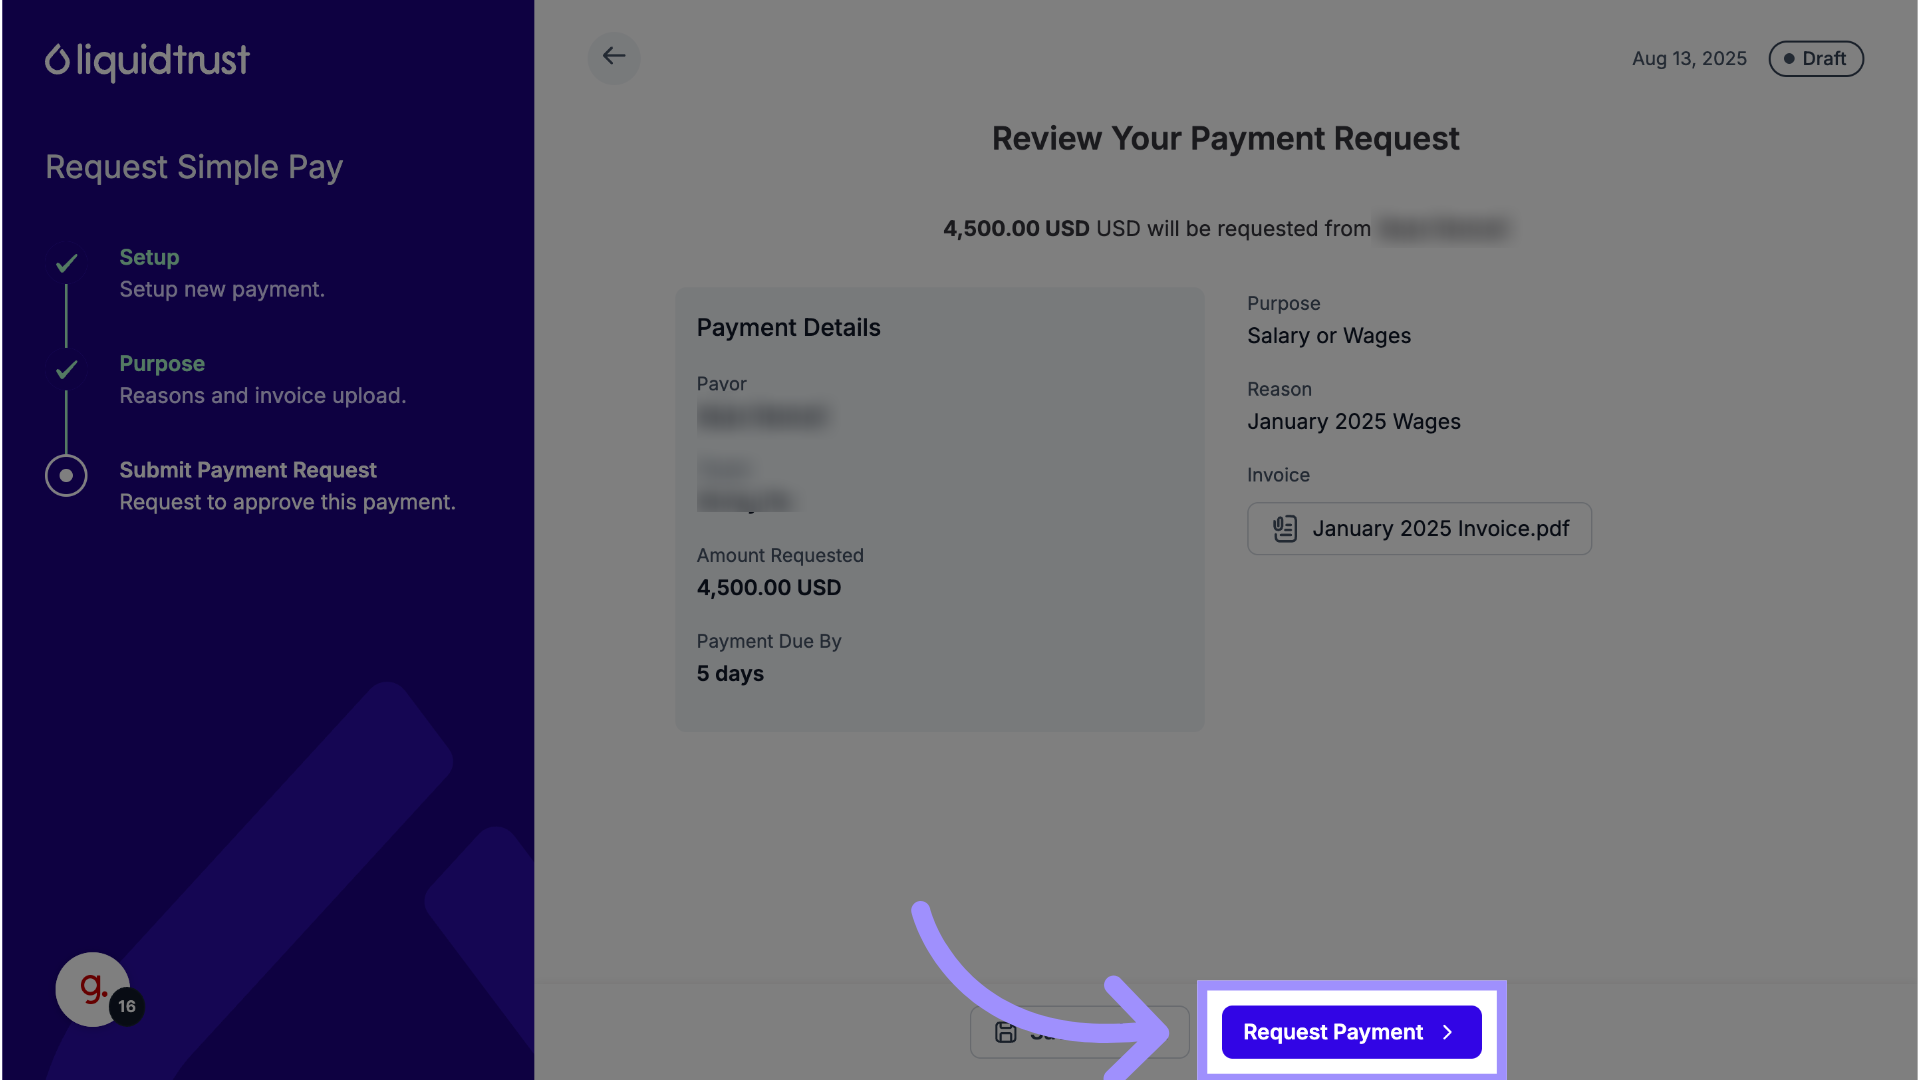
16. Review and Confirm the Payment Details
Carefully review all the payment details to make sure they are correct. When you are ready, click Request Payment.
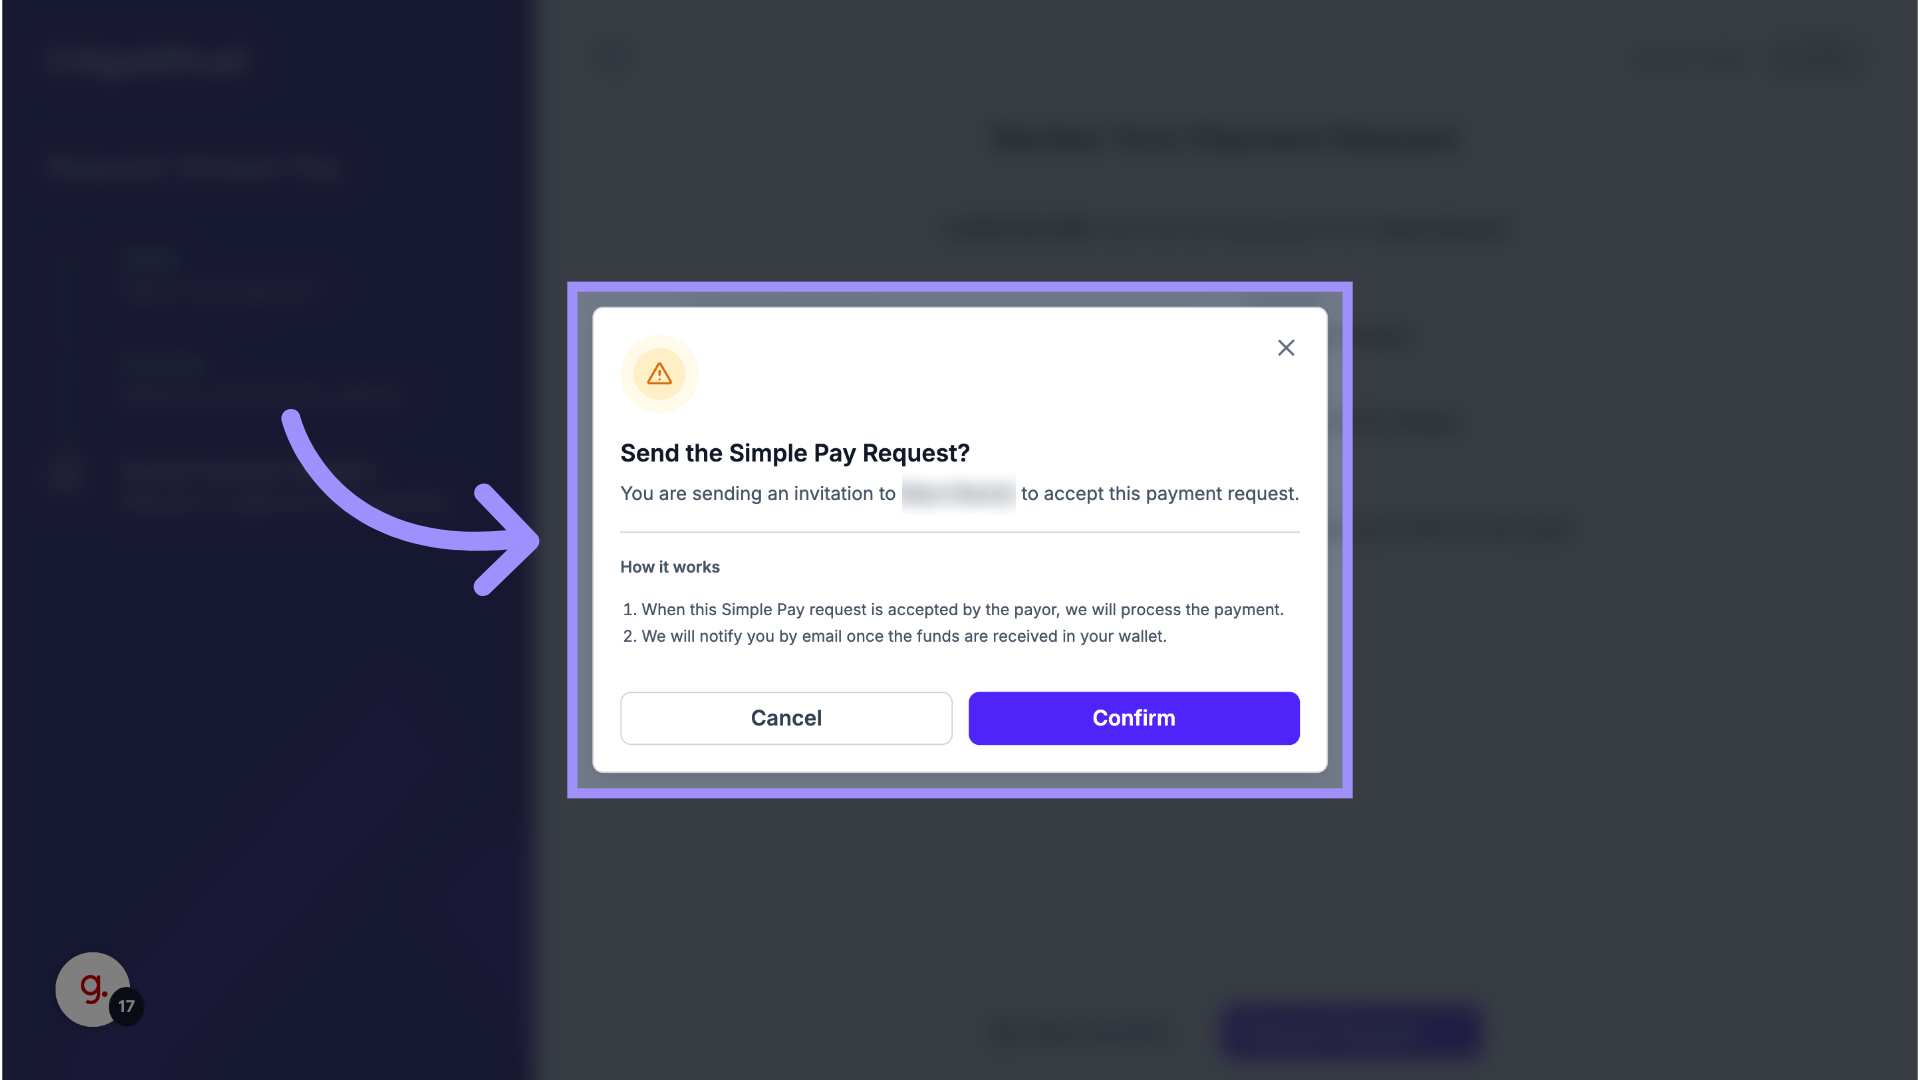
17. Click "Confirm"
A final pop-up will appear; click Confirm to send the request. An email will be sent to your business contact, notifying them that a payment request has been sent.
Remember to include an invoice with each payment request.
For future requests, you can save time by duplicating any existing payment request before editing and sending it.
If you are a LiquidTrust user outside the USA, you are a Payee in the platform. This means you can receive and request payments.